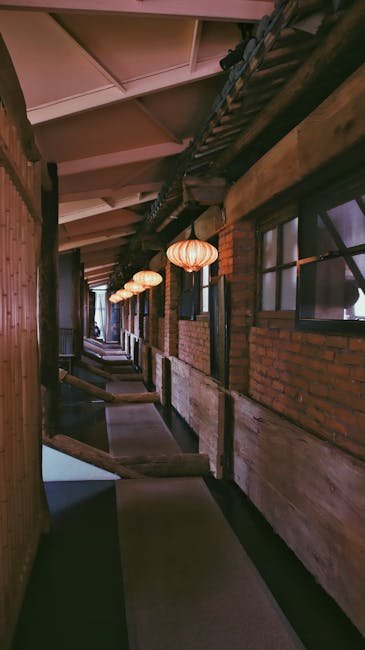
Your hallway is more than just a passage—it’s the first impression of your home. The right lantern placement can transform this space, making it feel inviting, stylish, and uniquely yours.
Wondering how to place contemporary hallway lanterns for the best impact? You’re about to discover simple hacks that will brighten your hallway and elevate your entire home’s look. Keep reading, because these easy tips will change the way you see and use your hallway forever.
Credit: cometlighting.co.uk
Choosing The Right Lantern Style
Choosing the right lantern style can change how your hallway looks and feels. The style sets the tone for your home’s entry space.
Think about the design, materials, and size before picking a lantern. These choices affect the light and mood.
Modern Vs Classic Designs
Modern lanterns have clean lines and simple shapes. They fit well in homes with a sleek, fresh look.
Classic lanterns show more detail and curves. They bring a timeless and warm feel to your hallway.
- Modern: geometric shapes, minimal details
- Classic: ornate patterns, vintage appeal
- Modern suits minimal decor
- Classic fits traditional homes
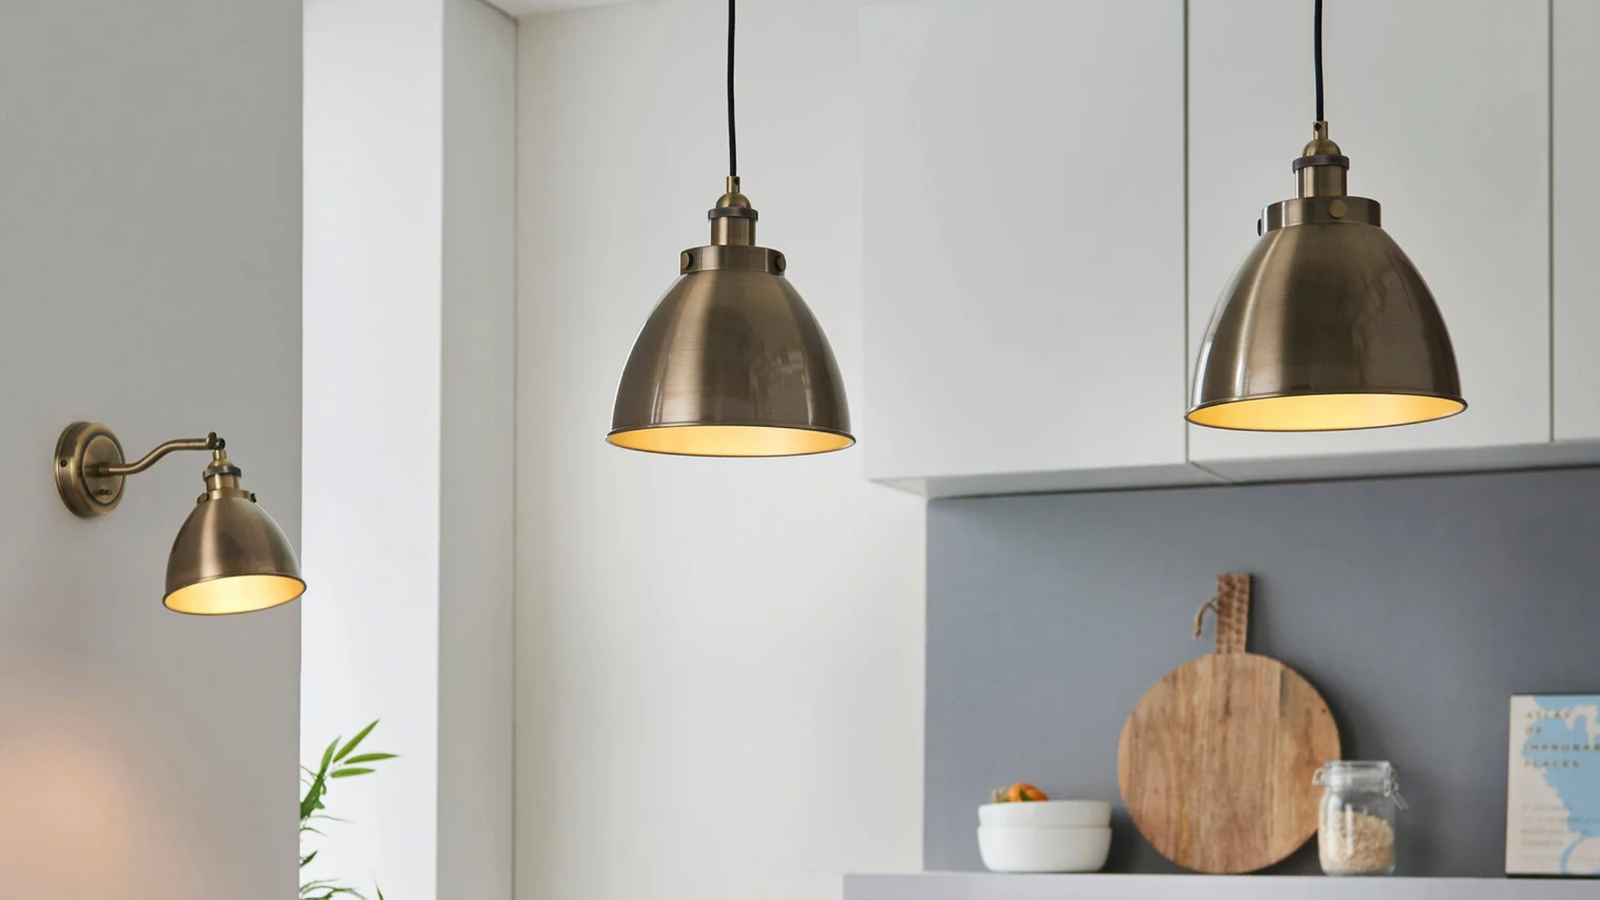
Materials That Enhance Ambiance
Materials affect how light spreads and the lantern’s style. Pick materials that match your hallway’s mood.
Metal gives a strong, modern feel. Glass adds brightness and openness. Wood creates warmth and a cozy look.
- Metal: sleek and durable
- Glass: bright and airy
- Wood: warm and inviting
- Mixed materials can add texture
Size And Scale Considerations
Choose a lantern size that fits your hallway space. Too big or small can look unbalanced.
Match the lantern size to ceiling height and hallway width. This keeps the space comfortable and stylish.
- Small lanterns suit narrow hallways
- Large lanterns fit wide or high spaces
- Keep enough space around the lantern
- Think about the lantern’s height from the floor

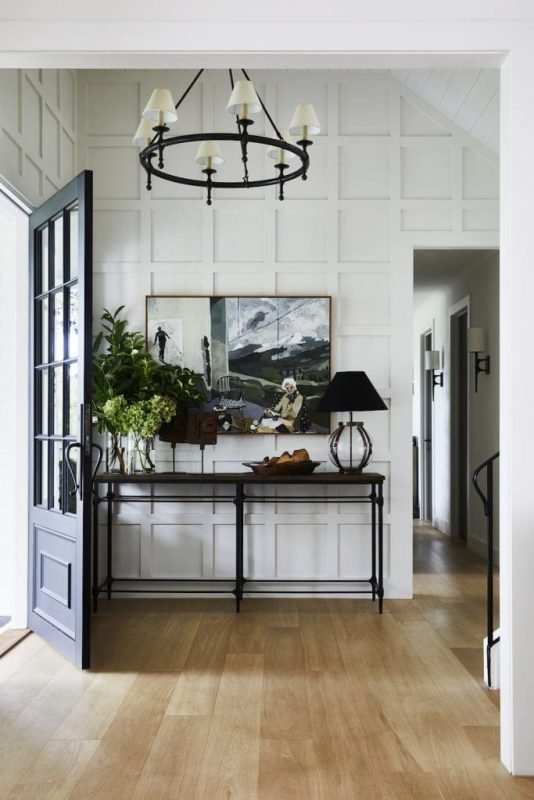
Credit: www.lemon8-app.com
Optimal Placement Strategies
Choosing the right spot for your hallway lanterns makes a big difference. Good placement adds style and light to your space.
This guide covers easy tips to place lanterns for the best look and function.
Eye-level Mounting Tips
Mount lanterns at eye level for the best effect. This height helps light spread evenly and avoids glare.
Try to keep the bottom of the lantern about 60 to 66 inches from the floor. This height works well for most hallways.
Spacing For Balanced Lighting
Space lanterns evenly to keep the light balanced along the hallway. Uneven spacing can cause dark spots or too much brightness.
- Measure the length of your hallway.
- Decide how many lanterns you want to install.
- Divide the length by the number of lanterns plus one.
- Place each lantern at these points for even light.
- Adjust spacing slightly if architectural features are present.
Highlighting Architectural Features
Use lanterns to draw attention to doorways, arches, or wall textures. Proper placement can enhance these details.
| Architectural Feature | Lantern Placement | Effect |
| Doorways | Mount lanterns on both sides of the door | Create a welcoming entrance |
| Arches | Place lanterns near the base of the arch | Highlight the curve and shape |
| Wall Textures | Position lanterns close to the wall | Cast shadows to show texture |
Using Lanterns To Create Depth
Lanterns add charm and style to any hallway. They also help create a sense of depth in narrow spaces.
Proper placement of lanterns can make your hallway look larger and more inviting. This guide shows simple ways to use lanterns for depth.
Layered Lighting Effects
Use multiple lanterns at different heights to build layers of light. This breaks the flat look and adds dimension.
- Place lanterns near floor level to highlight baseboards.
- Use wall-mounted lanterns at eye level.
- Add ceiling lanterns to brighten the whole hallway.
- Mix warm and cool light bulbs for contrast.
Combining Wall And Ceiling Fixtures
Wall and ceiling lanterns work well together. Wall lanterns add detail, while ceiling ones provide broad light.
| Fixture Type | Placement | Effect |
| Wall Lantern | Along hallway walls | Creates shadows and depth |
| Ceiling Lantern | Center or ends of hallway | Brightens space evenly |
| Combination | Wall + Ceiling | Balanced light layers |
Accent Lighting Techniques
Accent lanterns highlight features like artwork or plants. They add focus and depth.
- Use small lanterns with narrow beams to spotlight objects.
- Place lanterns near corners to soften edges.
- Choose lanterns with dimmers to control light levels.
Energy Efficiency And Bulb Choices
Choosing the right lighting for your hallway saves energy and reduces costs. Using energy-efficient bulbs helps the environment and keeps your space bright.
This guide covers different bulb types, smart lighting, and control options. Each helps improve energy use and lighting quality in hallways.
Led Vs Traditional Bulbs
LED bulbs use less electricity and last longer than traditional bulbs. They produce less heat, making them safer for small spaces like hallways.
| Feature | LED Bulbs | Traditional Bulbs |
|---|---|---|
| Energy Use | Low (up to 80% less) | High |
| Lifespan | 10,000 to 50,000 hours | 1,000 to 2,000 hours |
| Heat Emission | Low | High |
| Cost | Higher upfront | Lower upfront |
| Light Quality | Varies, many options | Warm light only |
Smart Lighting Options
Smart lights can be controlled by phone or voice. They help reduce energy use by turning off when not needed.
- Set schedules for lights to turn on and off
- Use motion sensors to light hallways only when someone is present
- Adjust brightness remotely to save power
- Integrate with smart home systems for easy control
Dimmers And Controls
Dimmers help lower energy use by reducing light intensity. They also create a cozy atmosphere in hallways.
| Control Type | Energy Savings | Ease of Use |
|---|---|---|
| Standard Switch | None | Simple |
| Dimmer Switch | Medium | Easy |
| Motion Sensor | High | Automatic |
| Smart Control | High | Remote |
Diy Installation Hacks
Installing a contemporary hallway lantern can brighten your space. Doing it yourself saves money and adds a personal touch.
These hacks will help you place the lantern safely and easily. Follow simple steps for best results.
Tools And Materials Needed
Gather the right tools before starting your installation. Having materials ready makes the process smoother and faster.
- Screwdriver set (flathead and Phillips)
- Voltage tester for electrical safety
- Wire strippers and cutters
- Electric drill with bits
- Wall anchors and screws
- Electrical tape and wire nuts
- Measuring tape and pencil
- Contemporary hallway lantern kit
Safe Wiring Practices
Always turn off power at the circuit breaker before working on wiring. This prevents electric shocks and accidents.
Use a voltage tester to double-check wires are not live. Connect wires by matching colors and secure with wire nuts.
- Turn off circuit breaker to cut power
- Test wires with voltage tester
- Match wire colors: black to black, white to white
- Twist wires together and cover with wire nuts
- Wrap connections with electrical tape for extra safety
Quick Fixes For Common Issues
If the lantern does not turn on, check the bulb and power source first. Loose wires may also cause problems.
Fix flickering lights by tightening wire connections. Replace damaged wires and bulbs promptly to avoid hazards.
- Check if bulb is screwed in correctly
- Ensure power is on at breaker
- Tighten any loose wire connections
- Replace faulty bulbs or wires
- Use a voltage tester to spot wiring issues
Styling Tips For Different Hallway Sizes
Transform your hallway with stylish lanterns, no matter its size. Use these tips to make the most of your space, from narrow to wide hallways.
Narrow Hallway Solutions
Narrow hallways can feel cramped, but lanterns add charm without taking up much space. Choose sleek designs to avoid clutter.
- Opt for wall-mounted lanterns to save floor space
- Use lanterns with upward lighting to make the ceiling appear higher
- Choose a consistent color scheme for a cohesive look
Wide Hallway Arrangements
Wide hallways offer more room to play with design. Use lanterns to define and enhance the space.
| Lantern Style | Effect |
| Large hanging lanterns | Create a focal point |
| Pair of lanterns | Balance the space |
| Lanterns with dimmers | Adjust ambiance easily |
Using Mirrors With Lanterns
Mirrors and lanterns work together to brighten your hallway. This combination can make any space feel more open and inviting.
Place mirrors opposite your lanterns. This reflects light and creates the illusion of more space. A great hack for small or dark hallways.
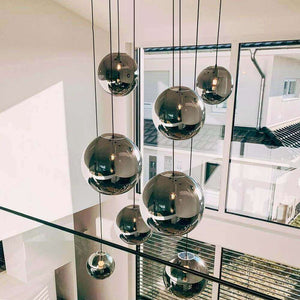
Credit: skapetze.com
Frequently Asked Questions
How High Should Hallway Lanterns Be Placed?
Hallway lanterns should be placed 6 to 7 feet above the floor. This height ensures optimal lighting and safe clearance. Proper height enhances hallway aesthetics and functionality. Avoid placing lanterns too low to prevent obstruction.
What Style Of Lantern Suits Contemporary Hallways?
Sleek, minimalist lanterns with clean lines suit contemporary hallways best. Metals like brushed nickel or matte black complement modern decor. Choose lanterns with simple geometric shapes for a stylish look. Avoid overly ornate designs that clash with modern interiors.
Can Hallway Lanterns Improve Narrow Spaces?
Yes, lanterns with clear or frosted glass brighten narrow hallways effectively. They create an illusion of spaciousness by distributing light evenly. Use wall-mounted lanterns to save floor space. Proper placement enhances both safety and style.
Should Hallway Lanterns Be Dimmable?
Dimmable hallway lanterns offer flexible lighting for different moods. Adjust brightness for welcoming ambiance or practical visibility. Dimmers also save energy and extend bulb life. Incorporate dimmable fixtures for versatile hallway lighting solutions.
Conclusion
Choosing the right spot for hallway lanterns changes the room’s feel. Light brightens dark corners and adds warmth instantly. Simple placement tricks make your hallway look bigger and cozy. Try different heights and distances to find what suits best. Small adjustments bring big improvements without extra cost.
This guide helps you create a welcoming space with ease. Enjoy a well-lit hallway that welcomes every guest.