Your entryway is the first thing you and your guests see every day. Imagine having a stylish, functional storage bench right there—where you can sit down, take off your shoes, and stash away clutter instantly.
Sounds perfect, right? If you’ve been searching for a simple way to upgrade your space without breaking the bank, these DIY entryway storage bench projects are exactly what you need. They’re easy to follow, customizable to your style, and will transform your entryway into a neat, welcoming spot.
Keep reading, and you’ll discover how to create your own storage bench that fits your space and your life perfectly.

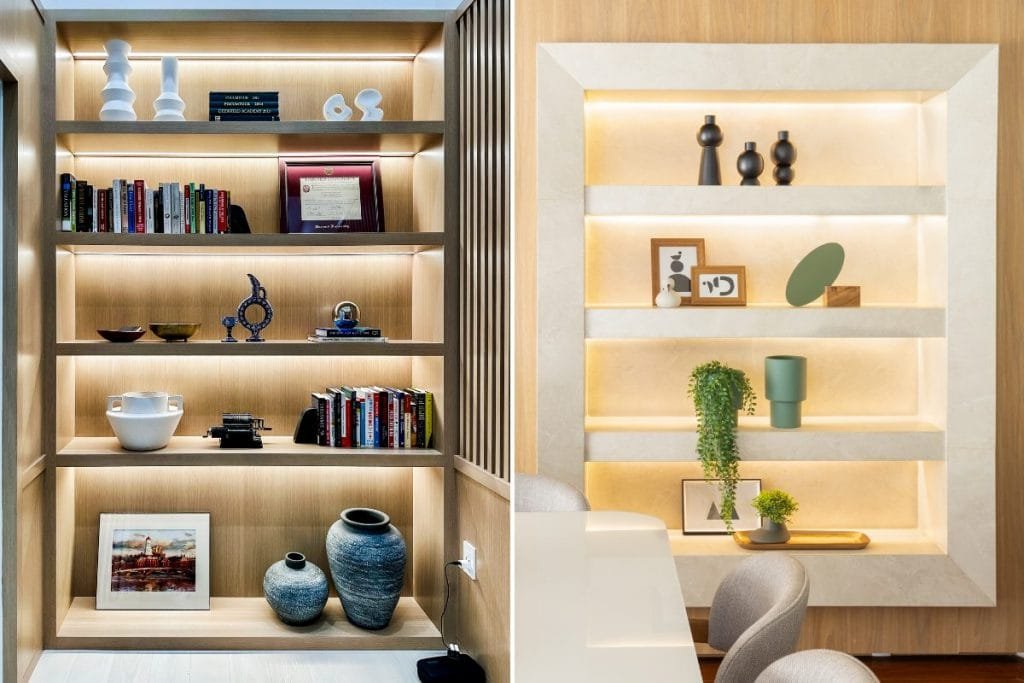
Credit: crystelmontenegrohome.com
Choosing The Right Materials
Building a DIY entryway storage bench needs careful material choices. Good materials make your bench last longer and look better.
Think about wood, hardware, and cushions. Each part affects the bench’s strength and style.
Wood Types And Finishes
Wood is the main part of your bench. Choose wood that fits your style and budget.
Hardwoods like oak and maple are strong and last long. Softwoods like pine are easier to work with and cost less.
- Oak: Durable and has a nice grain pattern
- Maple: Hard and smooth surface
- Pine: Soft, easy to paint or stain
- Birch: Light color and fine grain
Finish your wood with paint, stain, or sealant. Paint adds color. Stain shows the wood’s natural beauty. Sealant protects against moisture and dirt.
Hardware Options
Hardware holds your bench parts together and adds style. Pick hardware that matches your bench design and use.
Look at screws, hinges, handles, and brackets. Stainless steel resists rust. Brass gives a classic look.
- Screws: Choose size based on wood thickness
- Hinges: Use strong ones for lids or doors
- Handles: Pick comfortable and sturdy styles
- Brackets: Add extra support if needed
Cushion And Upholstery Choices
A cushion makes your bench comfy to sit on. Choose foam that is soft but holds shape well.
Cover the cushion with fabric that is easy to clean. Durable fabrics last longer in busy entryways.
- Foam: High-density foam lasts longer
- Fabric: Cotton, linen, or synthetic blends
- Cleaning: Removable covers are best
- Patterns: Pick simple designs for easy matching
Design Styles To Consider
Choosing the right design style helps your entryway storage bench fit your home. It sets the tone for your space and adds function.
Here are popular styles to think about for your DIY entryway bench project. Each style has unique features and charm.
Rustic And Farmhouse
This style uses natural wood and simple shapes. It feels warm and welcoming. Rough edges and distressed paint add character.
- Use reclaimed wood or pine
- Add black metal handles or hinges
- Paint with soft whites or muted colors
- Keep designs simple and sturdy
Modern Minimalist
Minimalist benches focus on clean lines and neutral colors. They create a neat, clutter-free look. Storage is built in but hidden.
| Feature | Example |
|---|---|
| Color | White, black, gray |
| Material | Wood with smooth finish, metal |
| Design | Straight lines, no decoration |
| Storage | Hidden compartments or drawers |
Industrial Chic
This style uses raw materials like metal and wood. It has a tough, urban look. Exposed screws and pipes are common features.
- Use metal frames or legs
- Choose wood with visible grain
- Keep finishes matte or slightly worn
- Include open storage spaces or wire baskets
Vintage And Shabby Chic
Vintage style uses soft colors and old-fashioned shapes. Shabby chic adds worn paint and floral details. It feels cozy and nostalgic.
- Pick pastel paint colors
- Use curved legs or decorative trim
- Distress the paint for a worn look
- Add fabric cushions with floral prints
Building Basic Bench Frames
Building a simple frame is the first step to making a sturdy entryway bench. The frame holds the seat and supports weight. Using basic tools and wood, you can create a strong base for your bench.
Focus on measuring and cutting accurately, then assemble the parts carefully. After that, prepare the surfaces for a smooth finish. Each step helps your bench last longer and look better.
Measuring And Cutting Wood
Start by measuring the wood pieces you need for the frame. Use a tape measure and mark the cuts clearly. Precision is important to make sure all parts fit well.
- Measure twice before cutting
- Mark wood with a pencil
- Use a saw suitable for straight cuts
- Cut on a stable surface
- Wear safety gear when cutting
Assembling The Frame
Put the cut wood pieces together to form the bench frame. Secure joints with screws or nails. Make sure the frame is square by checking the corners with a carpenter’s square.
| Part | Length (inches) | Quantity |
| Side Rails | 36 | 2 |
| Front and Back Rails | 18 | 2 |
| Legs | 18 | 4 |
| Seat Supports | 16 | 2 |
Sanding And Preparing Surfaces
Sand all wood surfaces to remove rough edges. Use medium-grit sandpaper first, then fine-grit for smoothness. Clean the dust before painting or staining the bench.
Tips for sanding:
- Sand along the wood grain
- Wear a dust mask for safety
- Use a sanding block for flat areas
- Check surfaces for smoothness by touch

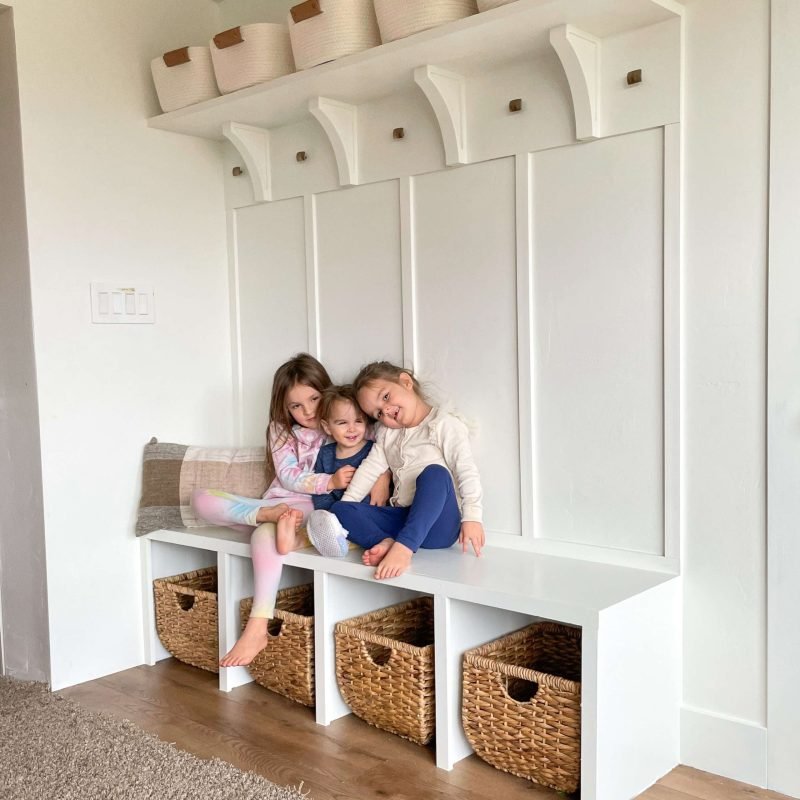
Credit: crystelmontenegrohome.com
Adding Storage Features
Creating a DIY entryway storage bench can help keep your space tidy. Adding storage features makes the bench more useful and organized.
There are several ways to add storage to your bench. You can use shelves, drawers, or hidden compartments to fit your needs.
Under-bench Shelves
Under-bench shelves provide easy access to shoes, bags, or baskets. They keep items off the floor and make use of the space below the seat.
- Open shelves allow quick storage and retrieval
- Use baskets to keep smaller items neat
- Adjust shelf height for different shoe sizes
- Paint or stain shelves to match the bench
Built-in Drawers
Built-in drawers add hidden storage inside the bench. They are perfect for gloves, keys, or small tools.
| Drawer Size | Best Use | Tip |
| Small (6×12 inches) | Keys, mail, gloves | Add dividers to organize |
| Medium (12×18 inches) | Scarves, hats, small bags | Use soft liners to protect items |
| Large (18×24 inches) | Blankets, shoes | Install smooth glides for easy pull |
Hidden Compartments
Hidden compartments offer secret storage inside the bench. They keep valuables safe and out of sight.
Consider these hidden storage ideas:
- Lift-up seat with a storage box inside
- Secret drawer under the bench base
- False bottom inside a drawer for extra space
Finishing Touches
Adding the final details to your entryway storage bench makes it unique. These touches enhance both style and function.
Explore painting, cushioning, and decorative accents to complete your project.
Painting And Staining Tips
Choose colors that match your home. Paint can brighten or darken your space.
- Use primer for a smooth finish
- Consider water-based paints for easy cleanup
- Stain wood to highlight natural grain
Adding Cushions And Pillows
Cushions add comfort to your bench. Pick materials that are durable and easy to clean.
To make your own cushion, follow these simple steps:
- Measure the bench surface.
- Cut foam and fabric to size.
- Sew the fabric to form a cover.
Decorative Hardware And Accents
Hardware choices can change the look of your bench. Use metal or wood knobs for a classic touch.
| Hardware Type | Style |
| Brass knobs | Vintage |
| Wooden handles | Rustic |
| Chrome pulls | Modern |

Credit: www.ana-white.com
Creative Customizations
DIY entryway storage benches are great for organizing your space. You can add personal touches to make them unique.
Creative customizations help your bench fit your style and needs. Small changes make a big difference.
Incorporating Hooks And Racks
Adding hooks and racks to your bench lets you hang coats and bags. It keeps things off the floor and easy to reach.
You can attach hooks on the sides or above the bench. Small racks can hold keys or mail.
- Install sturdy hooks for heavy coats
- Add small racks for hats and scarves
- Use metal or wooden hooks for style
- Space hooks evenly for better use
Personalized Paint Designs
Painting your bench adds color and personality. You can create patterns or use stencils for neat designs.
Choose colors that match your entryway decor. A fresh paint job can make an old bench look new.
- Try stripes, polka dots, or geometric shapes
- Use chalk paint for a rustic look
- Add a protective seal for durability
- Personalize with names or initials
Using Reclaimed Materials
Reclaimed wood or metal gives your bench a unique look. It is eco-friendly and often cheaper than new materials.
Look for old pallets, barn wood, or leftover wood from other projects. These materials add character and charm.
- Sand reclaimed wood to smooth rough spots
- Mix different wood types for contrast
- Use old metal brackets as decorative accents
- Finish with natural oils or stains
Maintenance And Care
Maintaining a DIY entryway storage bench ensures it remains functional and beautiful. Regular care helps extend the lifespan of your bench and keeps it looking fresh.
Simple maintenance steps can prevent damage and reduce wear and tear. Follow these guidelines to keep your bench in top condition.
Cleaning And Protecting Surfaces
Dust your bench weekly using a soft, dry cloth. This prevents dirt from building up on the surfaces. Avoid using harsh chemicals which can damage the finish.
Apply a furniture polish or wax once a month. This adds a protective layer and enhances the wood’s natural shine. Protect the bench from direct sunlight to prevent fading.
- Use coasters to avoid water rings
- Place mats under heavy objects
- Keep away from heat sources
Repairing Common Wear And Tear
Inspect your bench for loose screws or joints. Tighten any that appear loose to maintain stability. Small scratches can be fixed with a matching wood marker.
For deeper scratches or dents, use wood filler. Once it dries, sand the area gently and apply a matching stain or paint. This will help restore the surface.
- Check for wobbly legs
- Oil hinges and moving parts
- Replace damaged parts promptly
Updating Cushions And Upholstery
Remove and wash cushion covers every few months. Follow the care instructions on the label to avoid damage. This keeps them fresh and clean.
If upholstery is worn, consider re-covering it with new fabric. Choose a durable material that matches your decor. This can give your bench a new look.
- Vacuum cushions regularly
- Rotate cushions for even wear
- Spot clean stains immediately
Frequently Asked Questions
What Materials Are Best For Diy Entryway Storage Benches?
Wood like pine or oak works best for DIY benches. These materials are durable, easy to work with, and look great. You can also use plywood for a budget-friendly option. Adding cushions or paint enhances both comfort and style.
How Much Time Does A Diy Entryway Bench Take?
A basic DIY entryway storage bench usually takes 4 to 6 hours. This includes cutting, assembling, sanding, and painting. Complex designs might take longer. Planning and having all materials ready can speed up the process.
Can I Customize Storage Space In These Benches?
Yes, DIY benches offer full customization of storage space. You can add shelves, cubbies, or drawers depending on your needs. Adjustable compartments help organize shoes, bags, or other items neatly. Customization makes your bench functional and unique.
What Tools Are Needed For Building A Storage Bench?
Basic tools include a saw, drill, screwdriver, measuring tape, and sander. A hammer and wood glue are also helpful. These tools help you cut, assemble, and finish your bench effectively. Having the right tools ensures a smooth build process.
Conclusion
DIY entryway storage benches bring style and function together. They help keep your space tidy and welcoming. Simple materials and easy steps make these projects perfect for beginners. Choose a design that fits your needs and home decor. Personal touches add charm and usefulness to each bench.
Start small and enjoy the process of creating. A handmade bench adds warmth to any entryway. Try a project today and see the difference it makes.