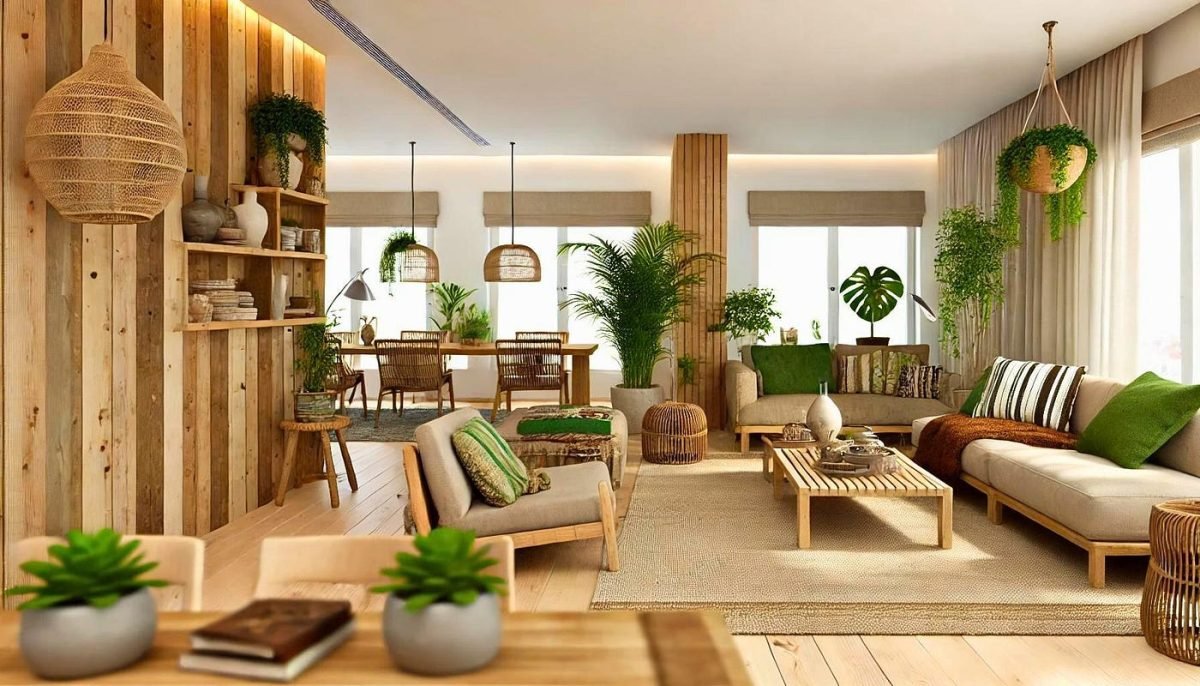
Looking to add a personal touch to your space without spending a fortune? Creative DIY wall shelves projects are the perfect way to do just that.
Imagine turning empty walls into stunning displays that reflect your style and keep your favorite items organized. Whether you’re a beginner or a seasoned DIYer, these projects will inspire you to create shelves that are not only functional but also eye-catching.
Ready to transform your walls and impress everyone who visits? Keep reading, and discover easy, fun ideas that you can start right now.
Materials For Diy Shelves
Choosing the right materials is important for making DIY wall shelves. The material affects how strong and stylish your shelves will be.
You can use different materials depending on your design and budget. Some materials are easy to work with and others last longer.
Wood Options
Wood is a popular choice for wall shelves. It looks natural and fits many room styles. You can paint or stain wood to match your decor.
Common wood types include pine, oak, and plywood. Pine is soft and easy to cut. Oak is strong and lasts a long time. Plywood is affordable and stable.
- Pine: light and easy to work with
- Oak: hard and durable
- Plywood: budget-friendly and stable
Metal And Pipe Choices
Metal and pipes add an industrial look to your shelves. They are very strong and hold heavy items well. Metal parts can be painted to prevent rust.
Common metals used are steel and iron. Pipes made from steel or black iron are popular for shelf supports. These materials are good for modern and rustic designs.
- Steel: strong and rust-resistant
- Iron pipes: sturdy and stylish
- Metal brackets: easy to install
Recycled And Upcycled Supplies
Using recycled or upcycled materials helps the environment and saves money. Old wood, crates, and pallets can become unique shelves. These materials add character to your space.
Look for clean and solid pieces that fit your shelf size. Sand and paint recycled wood to make it safe and attractive. Metal scraps can also be used as supports or brackets.
- Old wooden crates for rustic shelves
- Reclaimed wood planks for natural look
- Metal scraps for shelf brackets
Tools You’ll Need
Creating DIY wall shelves is fun and rewarding. You need the right tools to build sturdy and stylish shelves.
This guide covers basic hand tools, power tools, and safety gear. Each helps you work better and safer.
Basic Hand Tools
Basic hand tools are essential for most DIY shelf projects. They help you measure, cut, and assemble parts with control.
You can use these tools even if you do not have power tools. They are easy to handle and affordable.
- Measuring tape – for accurate measurements
- Hammer – to drive nails or fix parts
- Screwdrivers – to tighten screws
- Hand saw – to cut wood pieces
- Level – to check shelf balance
- Pencil – to mark cutting lines
Power Tools For Efficiency
Power tools save time and make cutting and drilling easier. They are helpful for bigger or frequent projects.
Using power tools requires some practice but improves work speed and accuracy.
- Electric drill – for drilling holes and driving screws
- Circular saw – for quick, straight cuts
- Jigsaw – for curved or detailed cuts
- Power sander – to smooth wood surfaces
- Clamps – to hold pieces steady during work
Safety Gear Essentials
Safety gear protects you from injuries. Always wear the right gear while working on shelves.
Safety helps you focus on the project without worry.
- Safety glasses – protect eyes from dust and splinters
- Work gloves – protect hands from cuts and splinters
- Ear protection – reduce noise from power tools
- Dust mask – prevent breathing sawdust
- Closed-toe shoes – protect feet from falling objects
Simple Floating Shelves
Simple floating shelves are easy to make and look great in any room. They do not need brackets and seem to float on the wall.
These shelves help save space and show off your favorite items. You can build them with basic tools and materials.
Designs For Beginners
Start with plain wooden boards for your shelves. Choose straight edges and smooth surfaces for a clean look.
Keep the size small at first. This makes the project simple and safe to hang on the wall.
- Use pine or plywood for easy cutting
- Pick shelf lengths between 18 to 24 inches
- Sand edges for a smooth finish
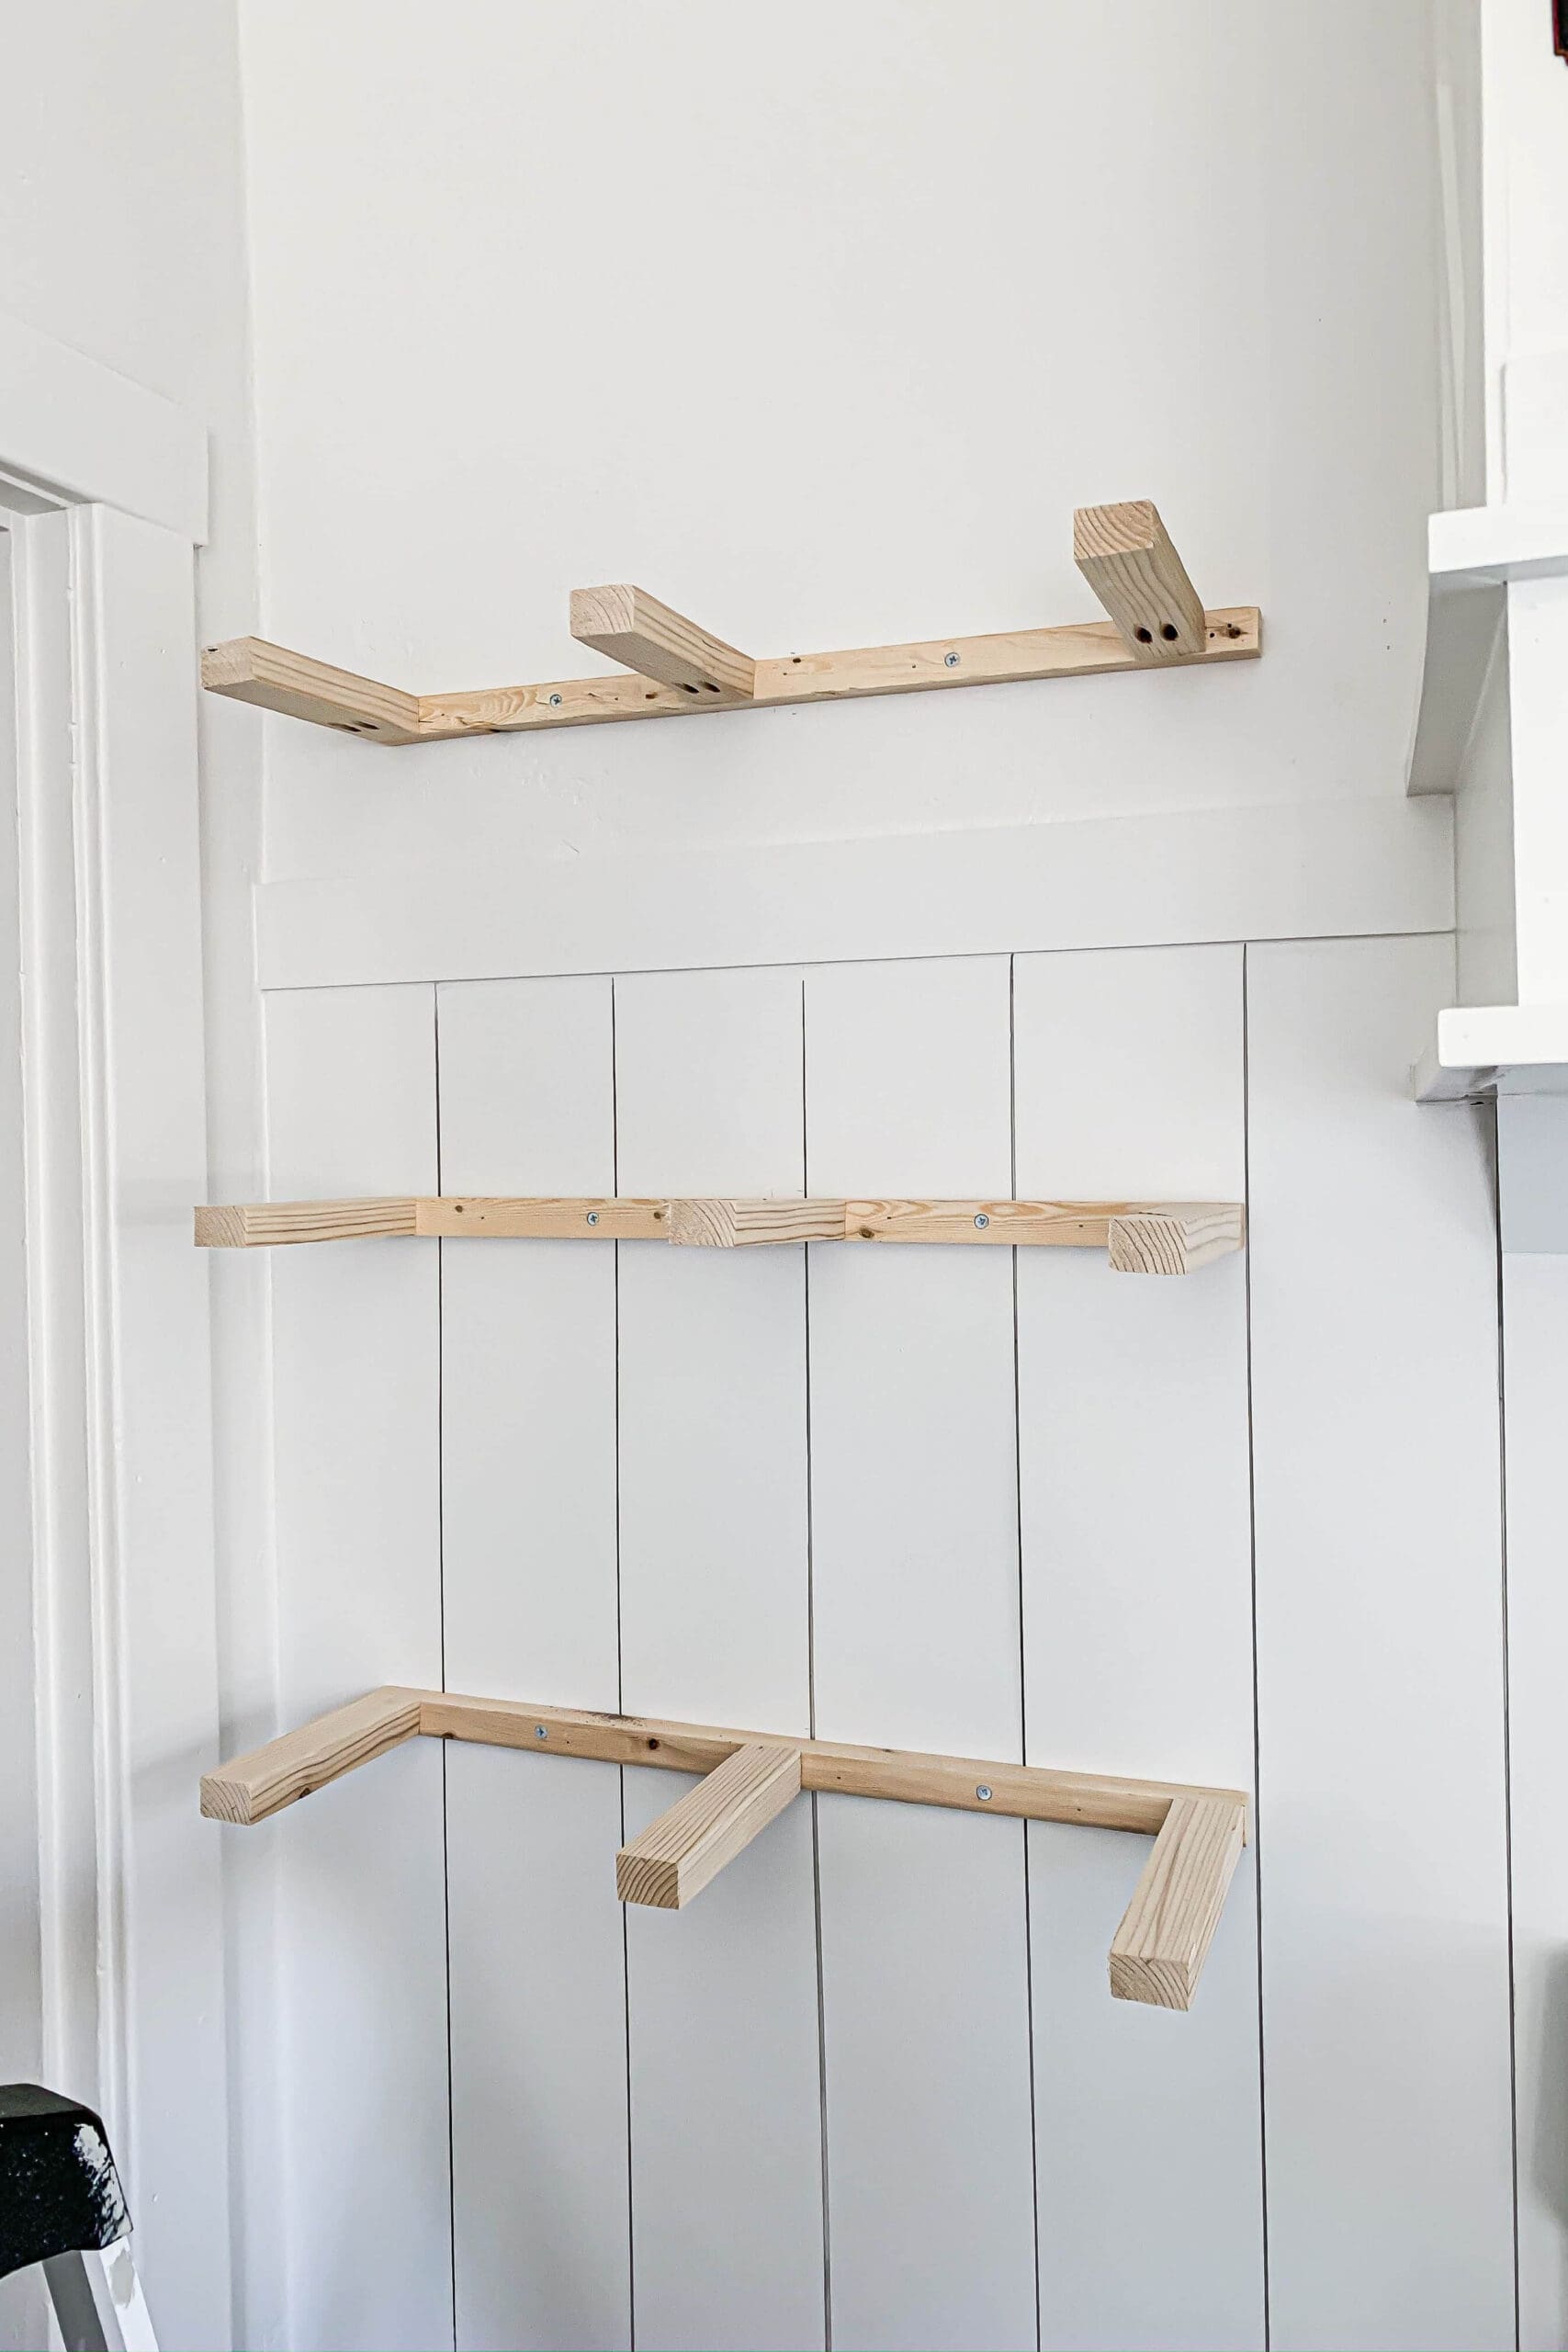
Mounting Techniques
Attach shelves using hidden brackets or floating shelf pins. These support the shelf without showing hardware.
Find studs inside the wall to make shelves strong. Use a stud finder for better accuracy.
- Use a drill to make holes in studs
- Insert anchors if no studs are available
- Slide shelf onto the bracket or pin system
Finishing Touches
Paint or stain shelves to match your room decor. Use light coats for a smooth look.
Seal the wood with clear varnish to protect it from moisture and dirt. Let it dry fully before use.
- Choose colors that blend with your walls
- Apply primer before painting for better coverage
- Use a brush or spray for even finish
Credit: crystelmontenegrohome.com
Rustic And Industrial Styles
Creative DIY wall shelves add style and storage to any room. Rustic and industrial styles offer a unique look using natural and raw materials.
These shelves blend wood, metal, and simple designs. They fit well in modern and vintage homes.
Using Raw Wood And Metal
Raw wood shows natural grain and knots. It gives a warm, rustic feel. Metal adds strength and an industrial edge.
Combine thick wood planks with metal frames or supports. This mix creates shelves that look sturdy and stylish.
- Choose wood with visible grain and rough edges
- Use black or dark metal for contrast
- Keep metal simple with clean lines
- Seal wood lightly to keep natural look
Incorporating Pipes And Brackets
Metal pipes and brackets add strong support and an industrial vibe. They are easy to find and install.
Use iron pipes for shelf supports. Pair them with wood boards for a rugged look. Brackets can be ornate or simple to match style.
- Measure walls and plan pipe lengths carefully
- Use flanges to fix pipes to walls securely
- Paint pipes black or leave raw for rust effect
- Choose brackets that match pipe style and size
Distressing And Aging Effects
Distressing wood makes shelves look old and worn. It adds character and fits rustic style well.
Use sanding, staining, or paint removal to age wood. Metal can show rust or patina for an industrial feel.
- Sand edges and surfaces unevenly
- Apply dark stain and wipe off excess
- Use steel wool to remove paint in spots
- Let metal pipes develop natural rust
- Seal wood lightly to keep aged look
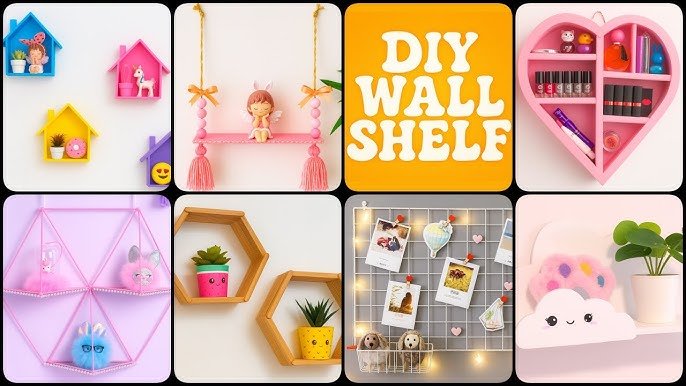
Creative Shapes And Layouts
Wall shelves are a great way to show your style. Choosing creative shapes and layouts makes your space unique.
Different shelf designs add character and keep things organized. You can mix shapes and positions for a fresh look.
Geometric Patterns
Geometric shelves use shapes like triangles, hexagons, and squares. These patterns look modern and clean.
They create eye-catching designs that fit small or large walls. You can arrange shapes to form bigger patterns.
- Triangle shelves for sharp, edgy looks
- Hexagon shelves that fit like puzzle pieces
- Square shelves stacked in perfect grids
- Mixing shapes for a dynamic wall display
Asymmetrical Arrangements
Asymmetrical shelves do not follow a strict order. They look playful and add interest to plain walls.
These layouts allow you to place shelves at different heights and distances. They work well in living rooms and bedrooms.
- Use shelves of different sizes
- Place shelves unevenly for a casual feel
- Combine open and closed shelf units
- Include shelves with angled edges
Layered And Staggered Designs
Layered shelves overlap or sit close together on the wall. This style adds depth and texture to any room.
Staggered designs place shelves at varying heights. They create a sense of movement and guide the eye across the wall.
- Stack shelves with small gaps in between
- Use different lengths for a staggered look
- Add plants or decor on different layers
- Combine wood and metal materials for contrast
Storage And Display Ideas
Creative DIY wall shelves add style and function to any room. They help organize your space while showing your favorite items.
With simple materials, you can build shelves that fit your needs. Use them to store books, plants, collectibles, and more.
Shelves For Books And Plants
Wall shelves keep books and plants off the floor and look neat. You can mix books and small pots to create a fresh look.
Use sturdy shelves for heavy books and smaller ones for plants. Arrange items so plants get sunlight and books stay safe.
- Place books upright or stacked for style
- Use small pots to save space
- Choose wood or metal shelves for strength
- Mix colors and textures for interest
Showcasing Collectibles
DIY shelves can highlight your collectibles beautifully. Use floating shelves or shadow boxes to display items clearly.
Arrange collectibles by size or theme. Keep shelves dust-free to protect your items and keep them looking good.
- Use clear shelves for a light look
- Group similar items together
- Add LED lights for better display
- Try different shelf shapes for interest
Multi-functional Shelves
Multi-functional shelves save space by combining storage and display. You can add hooks, drawers, or baskets to shelves.
These shelves work well in small rooms. Use them to hold keys, mail, plants, or books all in one place.
- Add hooks under shelves for hanging items
- Use baskets for loose or small things
- Include a small drawer for hidden storage
- Build shelves that fold or move for flexibility
Painting And Decorating Tips
Painting and decorating your DIY wall shelves can make them stand out. Using the right colors and designs helps your shelves fit your room well.
Simple painting tips can make your shelves look professional. Adding small decorations can also improve their style.
Color Choices To Match Decor
Pick colors that match the rest of your room. Matching colors create a balanced and nice look.
Use soft or bold colors depending on your style. Light colors make rooms feel bigger. Dark colors add warmth.
- Use colors from your walls or furniture
- Choose neutral colors for a simple look
- Add one bright color for contrast
- Test paint samples before painting
Stenciling And Patterns
Stencils add fun designs to your shelves. Patterns give your shelves a unique style.
Use simple shapes like stars or leaves. You can paint these with small brushes or sponges.
- Choose stencil designs that fit your room’s theme
- Use painter’s tape to keep edges clean
- Try stripes, dots, or geometric shapes
- Paint patterns lightly for a soft look
Adding Texture And Accessories
Add texture by using different paint finishes. Matte, glossy, or satin paints change the shelf feel.
Attach small accessories like knobs or hooks. These add both style and function to your shelves.
- Use textured paint for a rough or smooth feel
- Add rope or fabric for a handmade look
- Attach metal or wooden knobs for detail
- Use small plants or art pieces as decoration

Credit: meghanmakesdo.com
Maintenance And Durability
Creative DIY wall shelves add charm and storage to any room. Keeping them in good shape helps them last longer.
Simple care and small repairs protect your shelves from damage. This saves time and money over time.
Cleaning Tips
Dust your shelves often to avoid buildup. Use a soft cloth or feather duster for best results.
Avoid using harsh cleaners that can damage wood or paint. Mild soap and water work well for most shelves.
- Dust weekly to keep shelves clean
- Use mild soap and water for stains
- Dry shelves after cleaning to prevent damage
Protecting Surfaces
Protect shelves from water and sunlight to keep them strong. Water can cause wood to warp or stain.
Use coasters or mats under items that hold liquids. Keep shelves away from direct sunlight to avoid fading.
- Place mats under plants and cups
- Avoid placing shelves in direct sunlight
- Use sealants on wood for extra protection
Repairing Common Issues
Fix loose screws or brackets quickly to keep shelves steady. Tighten them with a screwdriver as needed.
Fill small cracks or holes with wood filler. Sand and paint over the repair to match the shelf.
- Tighten loose hardware regularly
- Use wood filler for cracks and holes
- Sand and repaint repaired areas

Credit: www.youtube.com
Frequently Asked Questions
What Are Some Easy Diy Wall Shelf Ideas?
There are various easy DIY wall shelf ideas, including using crates, ladders, or reclaimed wood. Floating shelves are also popular. You can customize them with paint or stain to match your decor. These projects require minimal tools and materials, making them perfect for beginners.
How Can I Create Floating Wall Shelves?
Creating floating wall shelves involves using hidden brackets to attach the shelves securely. Measure and mark your wall, then install the brackets. Slide the shelf onto the brackets for a seamless look. Ensure the shelves are level to maintain stability and aesthetics.
What Materials Are Best For Diy Shelves?
Wood, metal, and MDF are popular materials for DIY shelves. Wood offers a classic look, while metal adds a modern touch. MDF is budget-friendly and easy to work with. Consider the weight and purpose of your shelves when choosing materials.
Are Diy Wall Shelves Cost-effective?
Yes, DIY wall shelves are cost-effective. You can use affordable materials and repurpose items like crates or pallets. This approach saves money compared to buying ready-made shelves. Additionally, customizing shelves allows you to match your decor without spending a fortune.
Conclusion
Creative DIY wall shelves add style and function to any room. They save space and show your unique taste. Simple tools and materials make projects easy for everyone. Try different shapes and colors to match your decor. These shelves hold books, plants, or small items neatly.
Small changes bring fresh energy to your home walls. Start a project today and enjoy a new look. Creative shelves bring both beauty and order to your space.