Looking to add style and function to your entryway without spending a fortune? A DIY entryway bench project is the perfect way to do just that.
Imagine having a beautiful, custom bench where you can sit down to put on your shoes or store your everyday essentials neatly. You don’t need to be a woodworking expert to create something amazing that fits your space and personality.
You’ll discover simple, step-by-step projects that anyone can tackle. Ready to transform your entryway into a welcoming, organized spot? Keep reading and get inspired to build your own entryway bench today.
Choosing The Right Materials
Picking the right materials is key for a sturdy entryway bench. The choice affects how the bench looks and lasts.
Think about the style, strength, and care needs before you start building your bench.
Wood Types And Finishes
Wood is a popular material for entryway benches. Different woods have different looks and strengths.
You can choose a finish to protect the wood and make it easier to clean.
- Oak is strong and has a classic look.
- Pine is softer and easy to work with.
- Maple has a smooth surface and light color.
- Staining wood can bring out its natural patterns.
- Sealing protects wood from moisture and dirt.
Metal And Mixed Materials
Metal adds strength and modern style to benches. Some benches mix metal with wood or other materials.
Metal parts can be powder-coated to stop rust and add color.
- Steel is strong and good for frame support.
- Aluminum is light and resists rust.
- Mixing wood and metal gives a stylish look.
- Metal legs can hold more weight than wood alone.
Eco-friendly Options
Eco-friendly materials help the planet and can look great in your home.
Choose materials that come from sustainable sources or are recycled.
- Bamboo grows fast and is very strong.
- Reclaimed wood adds character and saves trees.
- Low-VOC finishes are better for indoor air quality.
- Recycled metal reduces waste and uses less energy.

Credit: www.thecreativemom.com
Design Styles To Consider
Choosing the right design style helps your entryway bench fit your home. It sets the mood for your space.
Here are some popular styles to think about for your DIY entryway bench project.
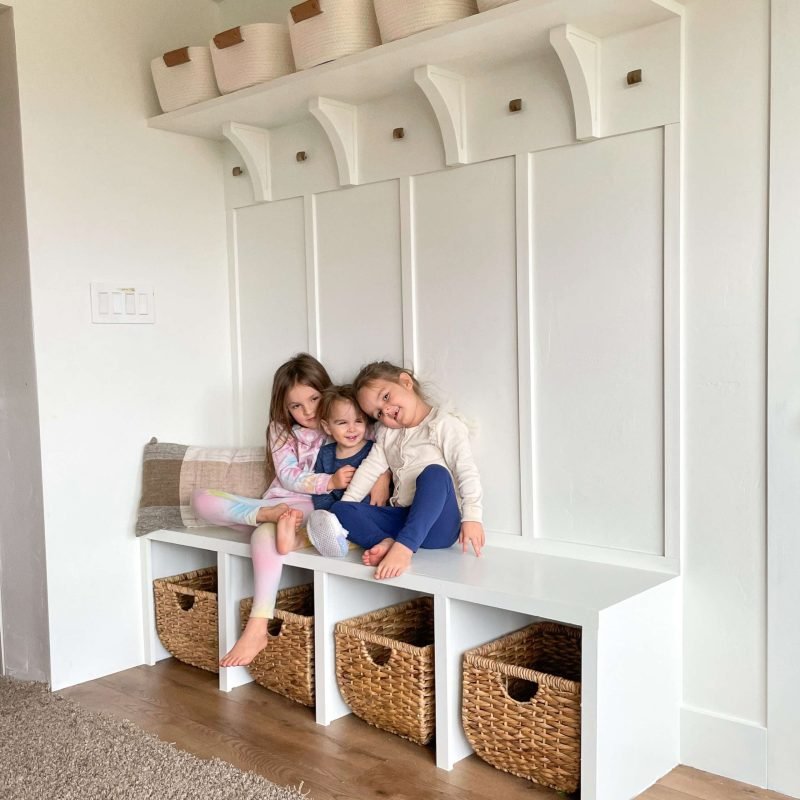
Rustic And Farmhouse
Rustic and farmhouse styles use natural wood and simple shapes. They give a warm and cozy feel.
Distressed wood and soft colors match this style well. You can add storage with baskets or shelves.
- Use reclaimed wood or wood with knots
- Choose light or whitewashed finishes
- Add comfortable cushions in neutral tones
- Include open storage or cubbies
Modern And Minimalist
Modern and minimalist benches have clean lines and simple shapes. They focus on function without clutter.
Choose smooth surfaces and muted colors. Metal legs or frames can add a sleek look.
- Pick straight edges and flat surfaces
- Use black, white, or gray colors
- Keep decoration to a minimum
- Consider built-in storage with hidden compartments
Industrial And Vintage
Industrial and vintage styles mix metal and wood. They have a rugged and old-fashioned look.
Rusty finishes and exposed hardware fit this style well. Use darker wood tones to add warmth.
- Combine metal pipes or frames with wood seats
- Choose dark stains or painted wood
- Use visible screws and bolts as decor
- Add leather or fabric cushions with aged look
Functional Features To Add
Adding functional features to your DIY entryway bench can make it more useful. Think about what you need most when entering or leaving your home.
Comfort and storage are key. Choose features that fit your space and daily routine.
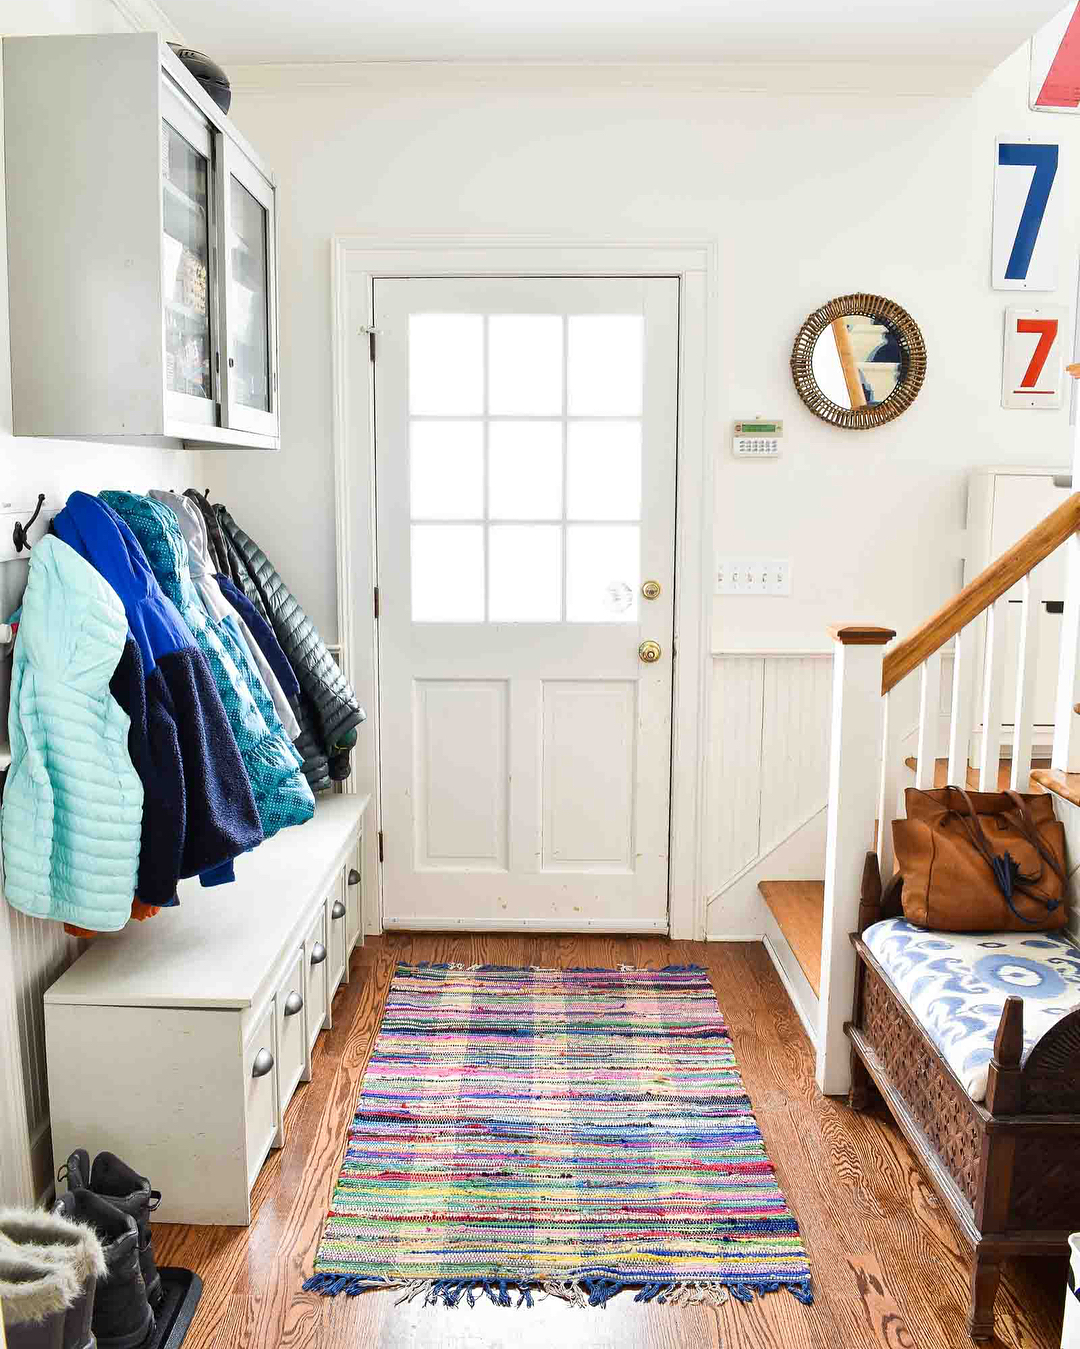
Storage Solutions
Storage helps keep your entryway tidy. You can use the space under the bench or add compartments for small items.
- Under-seat storage boxes or drawers
- Open cubbies for shoes and bags
- Hidden compartments for keys and mail
- Side baskets for umbrellas and scarves
Seating Comfort
Comfort is important for quick shoe changes or sitting down to relax. Adding cushions or padded tops can help.
| Feature | Benefit |
| Padded seat cushion | Soft and comfy to sit on |
| Backrest | Supports your back while sitting |
| Armrests | Extra comfort and support |
| Wide seat surface | Room for more than one person |
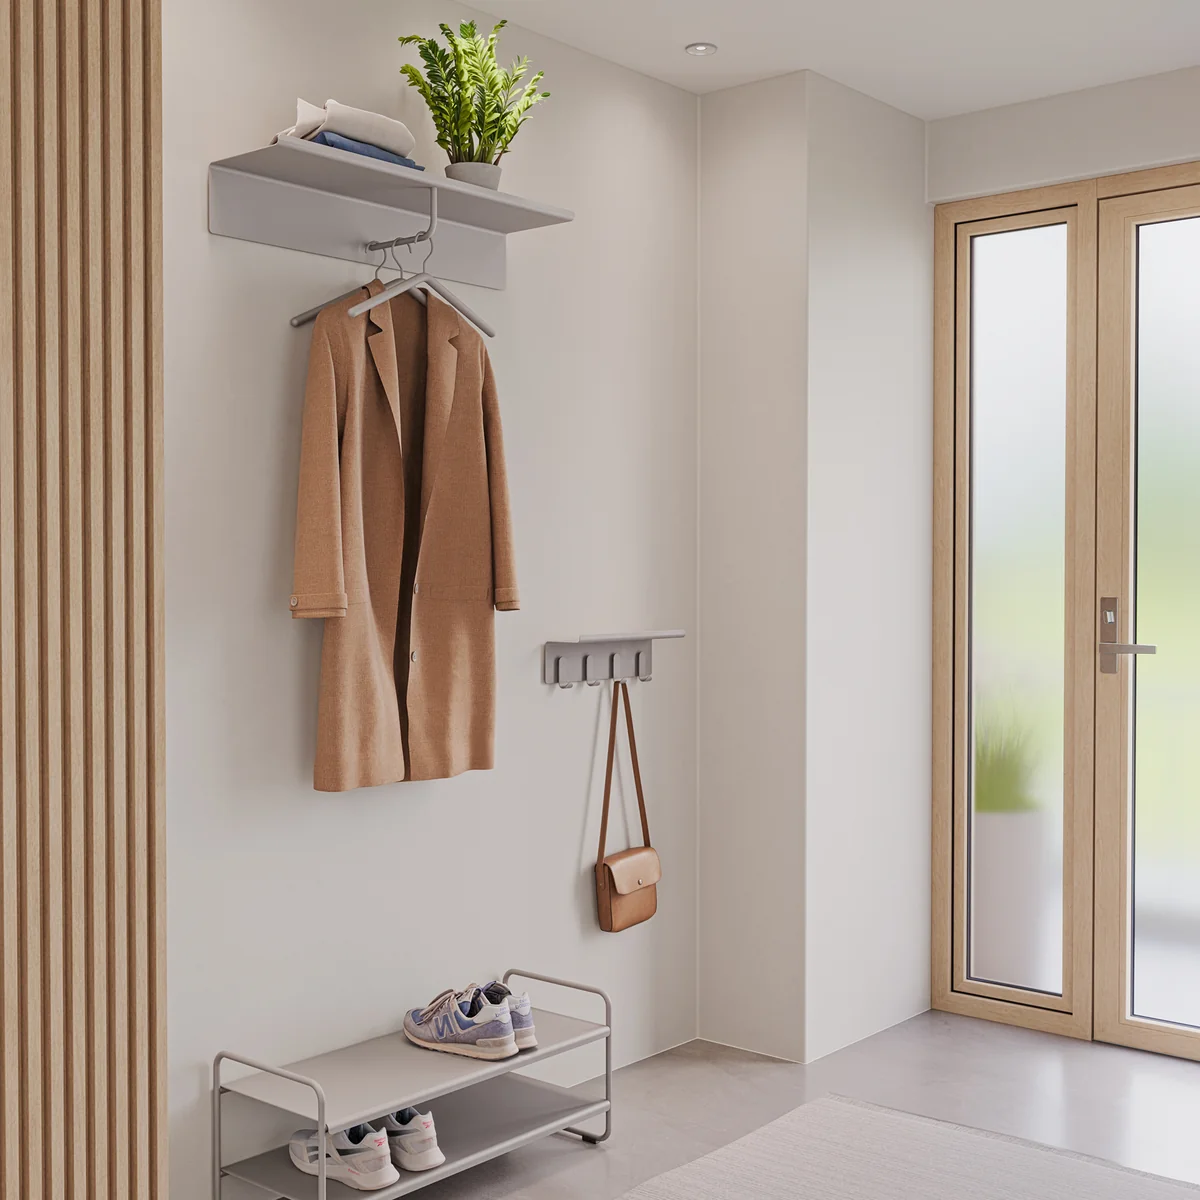
Hooks And Shelves
Hooks and shelves add extra storage for coats, bags, and hats. They keep items off the floor and easy to reach.
- Wall-mounted hooks for jackets and keys
- Small shelves for mail or decor
- Overhead racks for hats or scarves
- Combination units that mix hooks and shelves
Credit: www.extraspace.com
Step-by-step Building Tips
Building a DIY entryway bench is a great way to add function and style to your home. Careful planning and simple steps make the project easier.
Follow these clear tips to measure, cut, assemble, and finish your bench with confidence.
Measuring And Planning
Start by measuring the space where the bench will sit. Note the width, depth, and height that fit your entryway.
- Measure wall length and available floor space
- Decide bench height for comfortable seating
- Plan storage needs, like shelves or cubbies
- Sketch a simple design with dimensions
Cutting And Assembly
Use your measurements to cut the wood pieces carefully. Keep edges smooth to avoid splinters.
| Piece | Dimensions | Quantity |
| Seat | 36″ x 14″ | 1 |
| Legs | 18″ x 3″ x 3″ | 4 |
| Side Panels | 14″ x 18″ | 2 |
| Back Support | 36″ x 4″ | 1 |
Join the parts using wood screws and glue. Make sure the bench is square and stable before the glue dries.
Finishing Touches
Sand the bench to smooth all surfaces. Remove dust before applying any finish.
Choose paint, stain, or sealant based on your style and protection needs. Use a brush or cloth to apply evenly.
- Lightly sand between coats for smoothness
- Let each coat dry fully before adding the next
- Add cushions or baskets for extra comfort and storage
Creative Customization Ideas
Entryway benches add charm and function to your home. Customizing them lets you match your style and needs.
Try simple changes or bold designs to create a unique look. Use paint, fabric, and decorations to make it yours.
Painting And Staining
Painting or staining your bench can change its mood. Choose bright colors for a cheerful look or dark stains for elegance.
- Use chalk paint for a matte, vintage feel
- Try a two-tone design with contrasting colors
- Apply wood stain to show natural grain
- Seal with clear varnish for protection
Upholstery And Cushions
Add comfort with cushions and upholstery. Pick fabrics that match your home and feel nice to sit on.
| Fabric Type | Best Use | Care Tips |
| Cotton | Casual, breathable | Machine wash cold |
| Leather | Durable, stylish | Wipe with damp cloth |
| Linen | Light, textured | Dry clean recommended |
| Velvet | Soft, luxurious | Spot clean gently |
Decorative Accents
Decorate your bench with accents that add personality. Use items that fit your style and space.
- Add patterned throw pillows for color and texture
- Attach hooks underneath for keys and bags
- Place baskets below for shoes or storage
- Use stencils to paint fun designs on wood
- Attach small plants or lanterns for warmth

Credit: www.ana-white.com
Budget-friendly Options
Creating a beautiful and functional entryway bench doesn’t have to break the bank. With a little creativity and resourcefulness, you can build a stunning bench that fits your budget.
Using Reclaimed Materials
Reclaimed materials are a great way to add character to your entryway bench while reducing waste and saving money. Consider using old pallets, crates, or wooden doors to create a unique and eco-friendly bench.
- Look for pallets or crates at local hardware stores or online marketplaces.
- Clean and disassemble the pallets or crates to create individual planks.
- Use wood glue and nails to assemble the planks into a sturdy bench frame.
Simple Designs For Beginners
If you’re new to DIY projects, start with a simple design that requires minimal materials and tools. Consider a basic bench with a rectangular shape and a simple seat and backrest.
| Design | Materials | Tools |
|---|---|---|
| Simple Rectangular Bench | 2 x 4 lumber, 3/4 inch plywood | Drill, saw, hammer |
| Slatted Back Bench | 2 x 4 lumber, 1 x 4 lumber | Drill, saw, hammer |
Cost-saving Tools And Techniques
To save money on your DIY entryway bench project, consider using cost-saving tools and techniques such as power tools, pre-made frames, and budget-friendly finishes.
Some popular cost-saving tools and techniques include:
- Using power tools like a drill press or a jigsaw to make precise cuts.
- Purchasing pre-made frames or bench kits to save on materials.
- Applying budget-friendly finishes like a water-based stain or a clear coat.
Maintenance And Care
Taking care of your DIY entryway bench keeps it looking nice. Regular maintenance helps it last longer.
Simple cleaning and repairs prevent damage and keep the bench safe to use every day.
Cleaning Tips
Dust your bench often to stop dirt buildup. Use a soft cloth or duster for gentle cleaning.
For tougher spots, use mild soap and water. Avoid harsh cleaners that can damage the finish.
- Wipe spills quickly to prevent stains
- Dry the bench after cleaning to avoid water marks
- Use a soft brush for crevices and corners
Protecting Surfaces
Use pads or felt under items to stop scratches on the bench. Protect the wood from harsh sunlight.
Apply a sealant or finish to wood benches for extra protection. This helps resist water and dirt.
- Place the bench away from direct sunlight
- Use coasters or mats for wet or hot objects
- Reapply sealant every year or as needed
Repair And Upkeep
Check your bench for loose screws or nails often. Tighten them to keep the bench sturdy.
Fix scratches and dents with wood filler or touch-up markers. Sand and repaint if needed to keep it fresh.
- Inspect joints and hardware regularly
- Replace damaged parts early to avoid bigger problems
- Clean and maintain upholstery if your bench has cushions
Frequently Asked Questions
What Materials Are Best For Diy Entryway Benches?
Wood like pine, oak, or plywood is ideal for DIY benches. They are sturdy, easy to work with, and affordable. Adding cushions or paint can enhance comfort and style. Metal accents add durability and a modern touch. Choose materials based on your skill level and design preference.
How Long Does A Diy Entryway Bench Project Usually Take?
Most DIY entryway bench projects take between 2 to 6 hours. Simple designs with pre-cut wood are quicker. Complex builds with storage or intricate details may take longer. Planning and preparation can reduce build time. Always allow extra time for sanding and finishing.
Can I Customize A Diy Entryway Bench For Storage?
Yes, many DIY entryway benches include built-in storage options. You can add shelves, cubbies, or a hinged seat for hidden storage. This maximizes space and keeps your entryway organized. Choose storage features that fit your needs and available space.
What Tools Do I Need For Building An Entryway Bench?
Basic tools include a saw, drill, screwdriver, measuring tape, and sander. Clamps and wood glue help with assembly. Optional tools like a nail gun speed up the process. Safety gear like goggles and gloves is essential. Tool choice depends on the complexity of your design.
Conclusion
Creating a DIY entryway bench adds style and function to your home. These projects are simple and fun to try. You can choose materials and designs that fit your space. Building your bench saves money and lets you customize. A bench helps keep your entryway neat and tidy.
Try these ideas to make your home more welcoming. Enjoy the pride that comes with crafting something yourself. Start your project today and see the difference it makes.