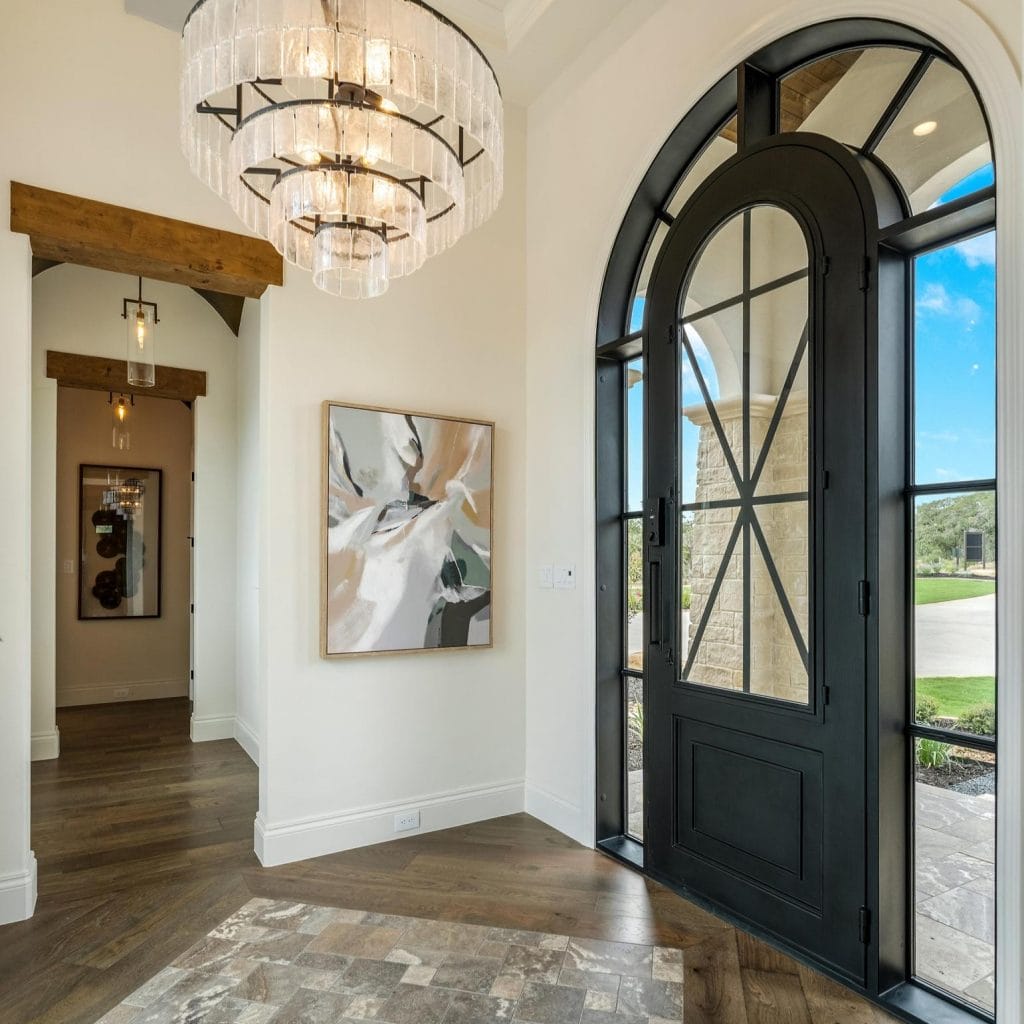
Your entryway is the first thing guests see, so why not make it unforgettable? A chandelier can transform this space from ordinary to stunning in seconds.
But buying one can be expensive and impersonal. What if you could create a chandelier that reflects your style and personality? You’ll discover simple DIY entryway chandelier projects that anyone can tackle. Get ready to impress your visitors and add a warm, welcoming glow to your home—without breaking the bank.
Keep reading to unlock easy ideas that will make your entryway shine.

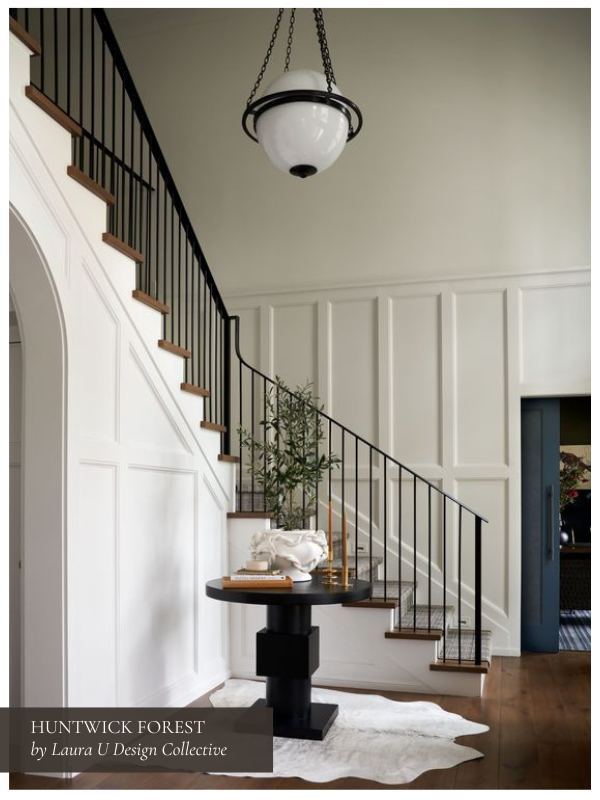
Credit: www.domino.com
Choosing The Right Chandelier
Picking the right chandelier can change your entryway’s look. It sets the mood and style for the whole space.
Consider size, materials, and lighting type before buying. This guide will help you make the best choice.
Size And Scale Tips
Measure your entryway before choosing a chandelier. The fixture should fit the space without crowding it.
- For small entryways, pick a chandelier about 12-20 inches wide.
- In larger spaces, choose a chandelier 24-36 inches wide.
- Hang the chandelier so it is 7 feet above the floor or higher.
- Consider ceiling height to keep good proportions.
Material Choices
| Material | Look | Care Tips |
| Crystal | Elegant and shiny | Clean with soft cloth |
| Metal | Modern or rustic | Use mild cleaner |
| Wood | Warm and natural | Avoid water, dust regularly |
| Glass | Simple and clear | Clean gently with glass cleaner |
Choose materials that match your home style. Also, pick ones that are easy to maintain.
Lighting Types
Different bulbs give different lighting effects. Here are common types:
- LED bulbs:Energy-saving and bright.
- Incandescent bulbs:Warm light but use more energy.
- Halogen bulbs:Bright and clear light, lasts longer.
- CFL bulbs:Use less energy, but may take time to warm up.
Match the bulb type to your desired brightness and energy use. Choose dimmable bulbs for flexible lighting.

Credit: www.domino.com
Creative Diy Design Ideas
Entryway chandeliers create a great first impression. You can style them yourself with simple ideas. DIY projects let you add personality and charm.
Use materials you like and try new designs. This guide shows creative ways to style your chandelier.
Upcycling Old Fixtures
Old chandeliers and light fixtures hold great potential. You can give them a new life with paint or added decorations. Upcycling saves money and reduces waste.
- Clean and sand the old fixture carefully.
- Paint with spray paint in trendy colors.
- Add new bulbs or lampshades.
- Use beads or crystals for extra shine.
- Replace chains or wires for safety and style.
Adding Natural Elements
Natural items bring warmth to your entryway chandelier. Wood, plants, and stones can make it feel cozy and fresh. These touches work well with many styles.
| Natural Element | Styling Idea |
|---|---|
| Wood | Use small wooden beads or rings on the chains |
| Greenery | Wrap faux ivy or small plants around the frame |
| Stone | Attach polished stones or crystals as pendants |
| Twine | Replace metal chains with twine for rustic look |
Incorporating Modern Styles
Modern chandeliers are simple and sleek. You can add a fresh look by using metal finishes and clear shapes. Mixing old and new creates balance.
- Choose matte black or brushed gold paint.
- Use geometric shapes for lampshades or frames.
- Install LED bulbs for energy efficiency and style.
- Add acrylic or glass pieces for shine.
- Keep designs minimal for a clean look.
Color And Finish Options
Choosing the right color and finish can change the look of your entryway chandelier. It sets the mood and fits your style. This guide covers painting techniques, metallic finishes, and mixing textures.
Each option offers unique ways to customize your chandelier. Experiment with colors and finishes to create a welcoming entryway.
Painting Techniques
Painting your chandelier can add personality and charm. Use different methods to get the look you want. Here are some popular painting techniques:
- Spray painting for a smooth, even coat
- Dry brushing to highlight details and edges
- Stenciling to add patterns or shapes
- Distressing for a vintage, worn look
- Ombre fading with two or more colors
Metallic Finishes
Metallic finishes bring shine and elegance to your chandelier. They work well with many decor styles. Popular metallic finishes include gold, silver, bronze, and copper.
| Finish | Description | Best For |
|---|---|---|
| Gold | Bright and warm, adds luxury | Classic or glam interiors |
| Silver | Cool and sleek, modern feel | Contemporary or industrial styles |
| Bronze | Rich and rustic, adds depth | Traditional or farmhouse rooms |
| Copper | Warm with a reddish tint | Eclectic or boho themes |
Mixing Textures
Combining different textures creates interest and balance. Mix matte, glossy, and rough surfaces for a unique chandelier style. Here is a simple HTML example to show texture combos:
Installation Tips And Tricks
Installing a DIY entryway chandelier can brighten your home’s first impression. It also adds style and charm to your space.
Following simple tips can help you install your chandelier safely and easily. This guide covers key points for success.
Safety Precautions
Safety is very important when installing a chandelier. Always turn off power at the circuit breaker before starting work.
Wear protective gear like gloves and safety glasses to avoid injuries. Use a sturdy ladder to reach the ceiling safely.
- Turn off electricity at the main breaker
- Use insulated tools
- Wear safety gloves and glasses
- Use a stable ladder or step stool
- Check for secure ceiling support
Tools You’ll Need
Having the right tools makes the installation easier and faster. Prepare all tools before you begin.
- Voltage tester to check power
- Screwdriver set for mounting
- Wire stripper to prepare wires
- Drill for ceiling anchors if needed
- Measuring tape for height and placement
- Ladder to reach the ceiling
Wiring Basics
Wiring is a key part of chandelier installation. Make sure to connect wires carefully to avoid electrical problems.
Match the chandelier wires to your home wiring: black to black, white to white, and green or copper to ground.
- Turn off power before touching wires
- Use wire nuts to secure connections
- Connect black (live) wires together
- Connect white (neutral) wires together
- Attach green or bare wire to ground screw
- Double-check all wire connections
Styling Your Entryway Around The Chandelier
The entryway is the first impression of your home. A well-styled chandelier can elevate its charm. This guide will help you style your entryway, focusing on the chandelier as the centerpiece.
Let’s explore how furniture, wall decor, and flooring can complement your chandelier, creating a cohesive look.
Complementary Furniture
Select furniture pieces that enhance the chandelier’s design. Consider shapes, colors, and materials for a harmonious space.
- Choose a console table with a reflective surface to amplify light.
- Opt for chairs with similar metal finishes as the chandelier.
- Include a small bench for functionality and style.
Wall Decor Ideas
Wall decor can accentuate the chandelier. Use art and mirrors to add depth and interest.
Flooring And Rugs
The right flooring or rug can ground the entryway design. It should work with the chandelier’s style and your overall decor.
| Flooring Type | Chandelier Style Match |
| Wood | Rustic, Traditional |
| Marble | Luxury, Modern |
| Tile | Eclectic, Contemporary |
Budget-friendly Project Ideas
Creating a beautiful entryway chandelier does not have to be expensive. You can style one using simple and cheap materials. This saves money and adds a personal touch to your home.
These projects are easy to do. They use things you can find around the house or at low cost. This way, you get a stylish chandelier without spending a lot.
Using Affordable Materials
Choose materials that are low cost but look good. Wood, metal pipes, and glass jars are great examples. These materials fit many styles and are easy to work with.
You can create a unique chandelier by mixing these materials. Paint or finish them to match your entryway decor. This approach keeps your project budget-friendly.
- Use wood scraps for the frame
- Metal pipes add an industrial look
- Glass jars work well as light covers
- Simple cords and bulbs are inexpensive
Repurposing Household Items
Look around your home for items you no longer use. Old chandeliers, kitchen tools, or toys can be turned into chandelier parts. This reduces waste and saves money.
Repurposing lets you add a creative and personal style. It also makes your chandelier one of a kind. Try to use items that are sturdy and safe for lighting.
- Old silverware makes great hanging pieces
- Broken jewelry adds sparkle and detail
- Unused glass bottles can hold light bulbs
- Wooden frames or ladders can form the base
Thrift Store Finds
Visit thrift stores to find cheap materials for your chandelier. You can buy old lamps, light fixtures, or unique decorations. These can be cleaned up and reused.
Thrift store finds often have vintage charm. They allow you to create a stylish look without spending much. Look for items that fit your design and can be safely rewired.
- Check for old chandeliers or lamp parts
- Look for glass or metal decorative pieces
- Find chains, hooks, or frames for structure
- Buy bulbs and cords separately if needed
Maintenance And Care Tips
Maintaining your entryway chandelier ensures it stays beautiful and functional. Regular care prevents damage and prolongs its life.
Here are some tips on cleaning, replacing bulbs, and preventing damage for your chandelier.
Cleaning Methods
Keeping your chandelier clean is important for its appearance. Dust and dirt can dull its sparkle.
Use a soft cloth and mild cleaner. Avoid harsh chemicals that might damage the finish.
- Turn off the power before cleaning
- Use a gentle cloth or duster
- Apply cleaner to the cloth, not directly on the chandelier
Replacing Bulbs
Replacing chandelier bulbs is easy but must be done carefully. Choose the right wattage to avoid overheating.
Ensure the power is off before you begin. Use a stable ladder for safety.
- Check bulb type and wattage
- Turn off power supply
- Use a ladder or step stool
Preventing Damage
Prevent damage by using the right cleaning tools. Avoid bumping the chandelier with furniture or ladders.
Check connections regularly to ensure they are tight. Loose parts can cause wear and tear.
- Use gentle cleaning methods
- Keep the area around the chandelier clear
- Inspect and tighten connections regularly
Credit: www.decorilla.com
Frequently Asked Questions
What Materials Are Best For Diy Entryway Chandeliers?
Wood, metal, and glass are popular materials for DIY chandeliers. They offer durability and style. Choose materials that match your entryway decor and lighting needs.
How Do I Install A Diy Chandelier Safely?
Turn off power before installation. Use a sturdy ceiling hook or bracket. Follow electrical codes or hire a professional electrician for wiring.
What Styles Suit Entryway Chandelier Projects?
Rustic, modern, farmhouse, and industrial styles work well. Match the chandelier style with your home’s overall aesthetic for a cohesive look.
Can I Customize Chandelier Lighting Brightness?
Yes, use dimmable bulbs or install a dimmer switch. This allows you to adjust brightness according to mood and time of day.
Conclusion
DIY entryway chandelier projects add charm to any home space. They bring light and style together with a personal touch. You can choose materials that fit your taste and budget. Simple steps make the process easy and fun. A well-styled chandelier welcomes guests with warmth and beauty.
Try different designs to find what suits your entryway best. Enjoy the satisfaction of creating something unique and bright. These projects turn ordinary spaces into inviting places quickly. Start small, and watch your entryway transform beautifully.
