Your hallway deserves more than just a simple light fixture. Imagine walking into a space that instantly feels warm, stylish, and uniquely yours.
With DIY hallway chandelier projects, you can transform that ordinary area into a stunning focal point without breaking the bank. Whether you’re looking for something modern, rustic, or elegant, this guide will help you create a chandelier that matches your taste and fits your space perfectly.
Ready to brighten up your hallway and impress everyone who walks through your door? Let’s dive into easy, creative ideas you can start right now.

Credit: heatherednest.com
Choosing The Right Chandelier Style
Choosing a chandelier for your hallway sets the tone for the entire space. The right style adds light and personality. Think about your home’s design before you select a chandelier.
Consider the size, shape, and color of your hallway. These factors help you pick a chandelier that fits well and looks great.
Modern Minimalist Designs
Modern minimalist chandeliers use clean lines and simple shapes. They avoid extra details and focus on function. These lights often have metal or glass finishes. They work well in small or narrow hallways because they do not take up much visual space.
Rustic And Vintage Options
Rustic and vintage chandeliers bring warmth and charm. They often use wood, iron, or bronze materials. These chandeliers add a cozy, old-fashioned feel to your hallway. They suit homes with classic or farmhouse styles.
- Wooden frames with candle-like bulbs
- Wrought iron with aged metal finishes
- Antique brass with decorative details
- Lantern-style lighting
Industrial And Eclectic Styles
Industrial and eclectic chandeliers combine rough materials and unique shapes. They use metals, exposed bulbs, and mixed textures. These styles fit hallways that need a bold, creative look. They often mix old and new elements for a fresh feel.
| Style | Common Materials | Typical Features |
| Industrial | Steel, iron, Edison bulbs | Exposed bulbs, metal pipes |
| Eclectic | Mixed metals, glass, wood | Asymmetrical shapes, colorful accents |
Materials For Diy Chandeliers
Making a chandelier by yourself is a fun way to decorate your hallway. Choosing the right materials helps you create a unique light fixture. Many materials work well for DIY chandeliers.
This guide shows common materials you can use. You will learn about repurposed items, natural elements, and metal frames.
Repurposed Items And Upcycling
Using old objects saves money and helps the environment. You can turn many household items into chandelier parts. Look for things that have interesting shapes or textures.
Some popular repurposed items include glass jars, old lampshades, and wine bottles. These can hold light bulbs or decorate the chandelier frame.
- Glass jars and bottles
- Old lampshades
- Vintage silverware or kitchen tools
- Wooden crates or boxes
- Metal baskets or cages
Natural Elements Like Wood And Branches
Wood and branches add a warm, natural look to chandeliers. You can find these materials outside or buy them from craft stores. They bring a rustic charm to your hallway.
Use driftwood, twigs, or wooden beads to build parts of your chandelier. You can also combine wood with lights for a soft glow.
- Driftwood pieces
- Tree branches or twigs
- Wooden beads or discs
- Bamboo sticks
- Natural rope or twine
Metal And Wire Frame Creations
Metal and wire frames make strong chandelier bases. You can shape wire into circles, stars, or other forms. Metal parts give a modern or industrial style.
Use metal chains, wire mesh, or old metal lamps for structure. These materials hold bulbs securely and look stylish.
- Wire hangers or craft wire
- Metal chains
- Old metal lamps or cages
- Wire mesh or grids
- Metal hoops or rings
Essential Tools And Supplies
Creating a DIY hallway chandelier is a fun project. You need the right tools and materials to work safely and get good results.
This guide covers basic electrical parts, safety gear, and painting supplies. Each section will help you prepare well.
Basic Electrical Components
These parts help connect your chandelier to power. Make sure to choose quality pieces for safety and durability.
- Light sockets
- Electrical wires
- Wire nuts and connectors
- Switches and dimmers
- Mounting brackets
- Circuit breakers
Safety Gear And Precautions
Safety is key when working with electricity. Use the right gear to protect yourself from injury or shock.
| Safety Gear | Purpose |
| Insulated gloves | Protect hands from electric shock |
| Safety goggles | Shield eyes from sparks and debris |
| Non-slip shoes | Prevent falls on ladders or slippery floors |
| Voltage tester | Check if wires are live |
| Fire extinguisher | Handle small electrical fires |
Painting And Finishing Materials
Painting and finishing give your chandelier a polished look. Choose materials that stick well and last long.
- Primer suitable for metal or wood
- Spray paint or brush-on paint
- Clear sealant or varnish
- Sandpaper for smoothing surfaces
- Paint brushes and masking tape
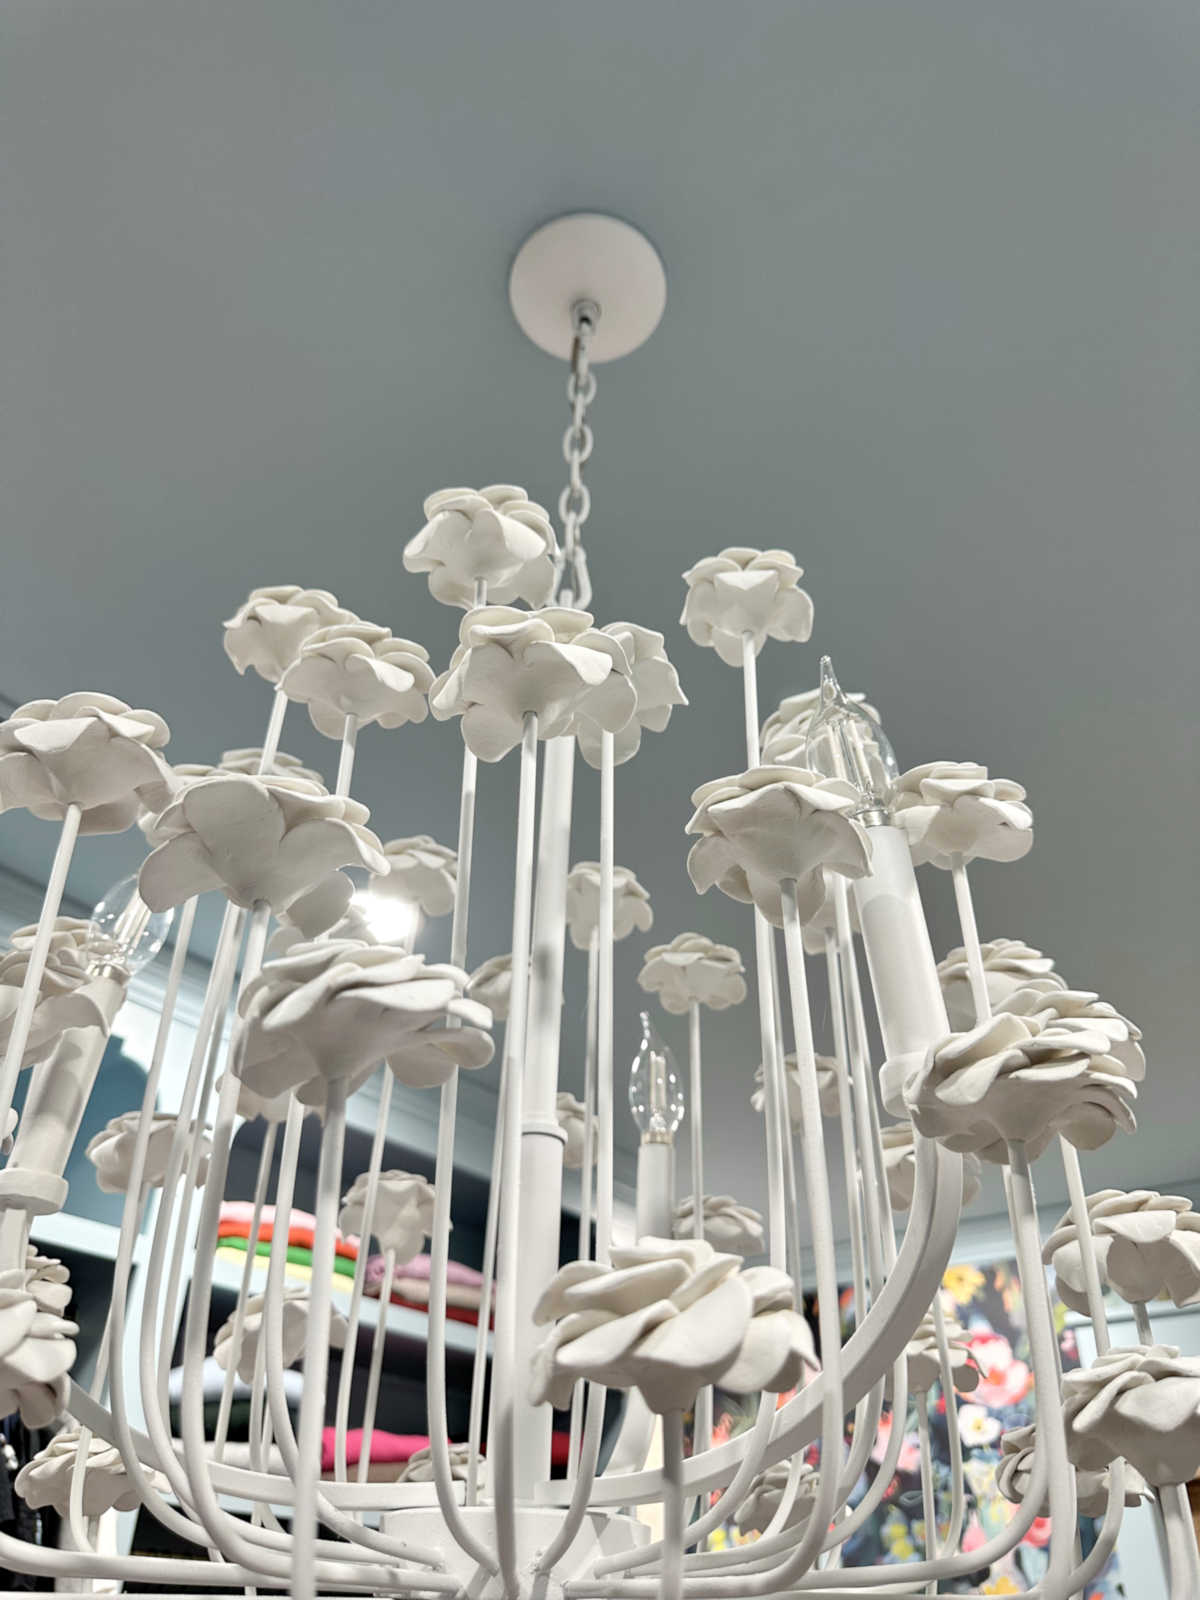
Credit: www.addicted2decorating.com
Step-by-step Diy Chandelier Ideas
Lighting can change the look of your hallway. Making your own chandelier is fun and creative. You can choose materials that fit your style and budget.
Here are easy DIY chandelier ideas. Each project uses simple steps and common items. Follow the instructions to create a unique light fixture.
Mason Jar Pendant Light Cluster
This chandelier uses mason jars as light covers. It adds a rustic charm to any hallway. You need jars, light sockets, and a sturdy base to hang them.
- Clean the mason jars and remove labels.
- Install light sockets inside each jar lid.
- Thread the wires through a wooden board or metal plate.
- Connect all wires to a power source safely.
- Hang the cluster at the desired height in your hallway.
Driftwood And Edison Bulbs Fixture
Use driftwood for a natural, beachy look. Edison bulbs add warm light. This fixture brings a cozy feel to your space.
| Material | Purpose |
|---|---|
| Driftwood | Base for bulbs and wiring |
| Edison Bulbs | Light source with vintage style |
| Light Sockets | Hold bulbs and connect wires |
| Electrical Wire | Connect bulbs to power |
| Mounting Hooks | Secure fixture to ceiling |
Attach sockets along the driftwood. Connect wires and secure the fixture to the ceiling. Test the bulbs before final installation.
Wire Cage Chandelier With String Lights
This idea uses a wire cage as the frame. String lights inside create a soft glow. It is easy to build and looks modern.
- Find a wire basket or cage that fits your hallway size.
- Insert battery-operated or plug-in string lights inside the cage.
- Secure the lights with zip ties or twist ties.
- Attach the cage to a ceiling hook or chain.
- Switch on the lights and enjoy the warm ambiance.
Installing Your Diy Chandelier
Installing a DIY chandelier can brighten your hallway with style. It also adds a personal touch to your home decor.
Follow simple steps to prepare, wire, and secure your chandelier safely.
Preparing The Ceiling Space
Clear the area where you plan to install the chandelier. Remove any old fixtures and check the ceiling box.
- Turn off the power at the breaker before starting work.
- Make sure the ceiling box is strong enough to hold the chandelier’s weight.
- Use a stud finder to locate ceiling joists for extra support if needed.
- Mark the spot clearly for drilling or mounting.
Electrical Wiring Tips
Proper wiring is key to a safe chandelier installation. Follow wiring codes and use the right tools.
| Wire Color | Function |
|---|---|
| Black | Hot (Live) wire |
| White | Neutral wire |
| Green or Bare | Ground wire |
Connect wires by matching colors. Use wire nuts to secure connections and wrap with electrical tape.
Securing And Balancing The Fixture
Attach the chandelier mount to the ceiling box. Check that it is tight and stable.
- Lift the chandelier carefully and hook it onto the mount.
- Connect the wiring as shown in the previous section.
- Secure all screws and fasteners firmly.
- Adjust the chains or rods so the chandelier hangs evenly.
- Test the fixture by turning the power back on.
Lighting Tips For Hallways
Hallways need good lighting to feel inviting and safe. A DIY chandelier can be a great choice for this space.
Learn how to pick the right bulbs and layer light for ambiance. See how to match your chandelier with your decor.
Choosing The Right Bulbs
Bulbs can change the feel of your hallway. Bright bulbs make a space look bigger.
Soft bulbs add warmth and comfort. Consider energy-saving options for long-term use.
- LED bulbs last longer
- Warm bulbs for cozy spaces
- Daylight bulbs for a fresh look
Layering Light For Ambiance
Use more than one light source to create layers. This adds depth and interest to your hallway.
Combine ceiling lights with wall sconces or table lamps. This creates a balanced and welcoming environment.
- Ceiling lights for general lighting
- Wall sconces for added style
- Table lamps for soft light
Complementing Existing Decor
Your chandelier should match your hallway’s style. Consider the colors and materials already in the space.
If your hallway has a modern look, choose a sleek chandelier. For a vintage feel, pick something with character.
- Match colors for a cohesive look
- Use similar materials for harmony
- Consider size for balance
Maintenance And Care
Maintaining your hallway chandelier ensures it remains a stunning focal point. Regular care can prevent damage and keep it shining.
Follow these simple steps to clean, replace bulbs, and troubleshoot your chandelier. Doing so will extend its life and enhance its beauty.
Cleaning Your Chandelier
Cleaning a chandelier helps maintain its sparkle. Dust and dirt can dull its appearance over time.
- Turn off the power to avoid electrical hazards.
- Use a soft, lint-free cloth for dusting.
- For deep cleaning, use a solution of warm water and mild soap.
- Dry each piece thoroughly to prevent water spots.
Replacing Bulbs Safely
Replacing bulbs in your chandelier is important for consistent lighting. Ensure you do this safely to avoid accidents.
| Step | Description |
| 1 | Turn off the power at the switch and breaker. |
| 2 | Allow bulbs to cool before touching. |
| 3 | Use a safe ladder or step stool for height access. |
| 4 | Replace with bulbs of correct wattage. |
| 5 | Turn on power to test new bulbs. |
Troubleshooting Common Issues
If your chandelier has issues, troubleshooting can help. Identify problems and apply simple solutions.
- Flickering Lights:Check if bulbs are screwed in tightly.
- No Power:Ensure the circuit breaker is on.
- Dim Light:Clean bulb contacts and inspect for corrosion.
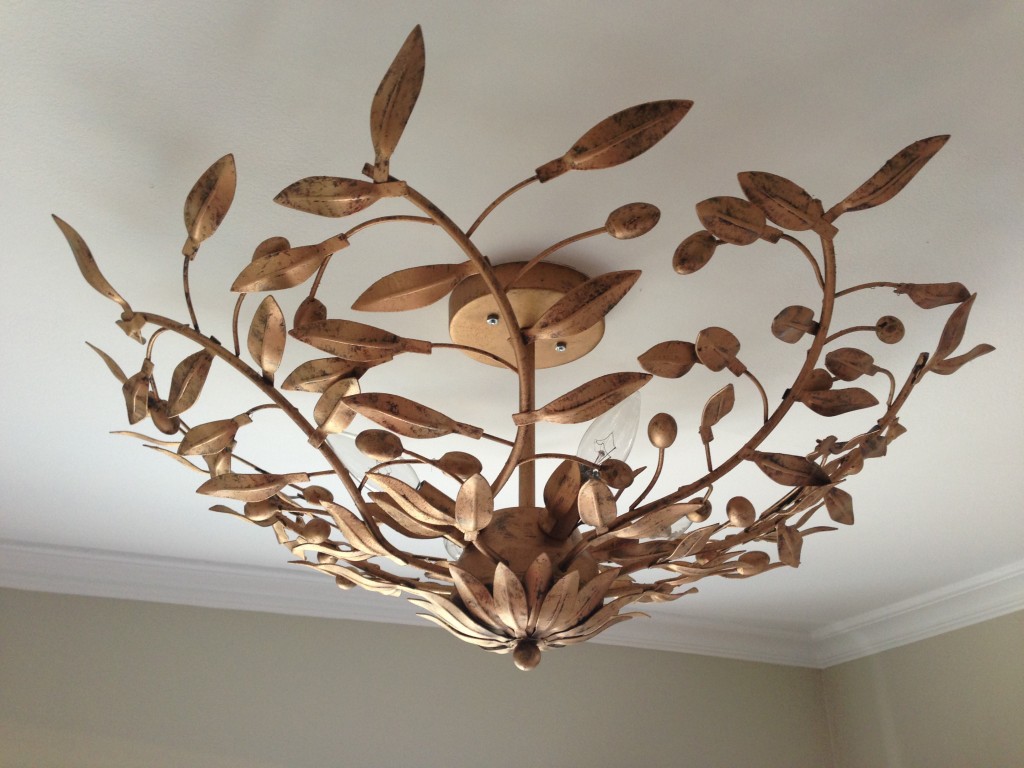
Credit: www.lorridynerdesign.com
Frequently Asked Questions
What Materials Are Best For Diy Hallway Chandeliers?
Common materials include metal frames, glass bulbs, crystals, and LED lights. Choose lightweight and durable materials to ensure safety and style. Recycled or repurposed items add a unique touch and eco-friendliness to your project.
How Do I Install A Diy Chandelier Safely?
Turn off the electricity before installation. Use a sturdy ceiling mount and secure all wiring connections. If unsure, consult an electrician to avoid hazards and ensure your chandelier hangs securely.
Can I Customize Chandelier Designs For Narrow Hallways?
Yes, customize size, shape, and light intensity for narrow spaces. Slim, elongated designs work best. Use adjustable chains or rods for perfect height and optimal light distribution.
What Lighting Bulbs Work Best For Hallway Chandeliers?
LED bulbs are energy-efficient and provide bright, warm light. Choose dimmable options to adjust ambiance. Ensure bulbs fit your fixture’s socket type and wattage limits for safety.
Conclusion
Creating a DIY hallway chandelier adds charm and light to your space. Simple steps bring big changes to your home’s look. Choose materials that fit your style and budget. Enjoy the process of building something unique and bright. Small projects like this make your home feel special.
Try different designs to match your hallway’s vibe. A handmade chandelier can impress guests and lift moods. Start your project today and see the difference shine.
