Your hallway chandelier is more than just a light—it’s a statement. Imagine transforming your space with a stylish, personalized touch that catches every eye the moment someone steps in.
You don’t need to be a design expert or spend a fortune to make this happen. In this guide, you’ll discover simple, creative DIY projects that will elevate your hallway chandelier and bring new life to your home. Ready to turn your hallway into a stunning entryway?
Let’s dive into ideas that are easy, affordable, and totally you.
Choosing The Right Chandelier
Choosing the right chandelier for your hallway can change the whole look. It sets the tone for your home’s entrance.
Think about size, style, and lighting. These help you pick a chandelier that fits well and looks great.
Size And Scale Considerations
Measure your hallway before buying a chandelier. It should fit the space without crowding it.
Choose a chandelier that is not too big or too small. The right size balances the room well.
- Small hallways need compact chandeliers
- Wide hallways allow for larger fixtures
- Consider ceiling height for hanging length
Style Matching Your Decor
Pick a chandelier style that matches your home’s look. It should blend with other decorations.
Think about modern, classic, or rustic designs. Your chandelier should feel like part of the room.
- Modern homes suit sleek, simple chandeliers
- Classic homes look good with crystal or ornate styles
- Rustic decor pairs well with wooden or metal fixtures
Lighting Needs And Ambiance
Consider how much light you need in the hallway. The chandelier should provide enough brightness.
Think about the mood you want to create. Soft light makes a cozy feel; bright light keeps it lively.
- Use dimmable bulbs for adjustable light
- Choose warm light for a welcoming glow
- Bright white light helps in narrow hallways
Creative Diy Chandelier Ideas
Chandeliers can brighten hallways and add style. You can build one yourself with simple materials.
Try different styles to match your home. Use your creativity to make a unique light fixture.
Repurposed Materials
Using old items gives your chandelier a new life. You can recycle things like jars, bottles, or metal parts.
- Glass jars with fairy lights inside create soft light.
- Old metal pipes can form a modern frame.
- Wooden crates cut and stacked add rustic charm.
- Wine corks glued around a frame make a natural look.
Bohemian And Rustic Styles
Bohemian chandeliers mix colors and textures. Rustic styles use natural wood and rough finishes.
| Material | Style | Effect |
|---|---|---|
| Macrame cords | Bohemian | Soft and cozy look |
| Reclaimed wood | Rustic | Warm and natural feel |
| Twine and beads | Bohemian | Earthy and artistic |
Modern Minimalist Designs
Minimalist chandeliers use simple shapes and few colors. They fit well in clean, modern halls.
- Use metal rings or geometric shapes as frames.
- Opt for LED bulbs with clear glass covers.
- Choose neutral colors like black, white, or silver.
- Keep the design open and light to avoid clutter.
Installation Tips And Tricks
Installing a hallway chandelier can change the look of your space. It is important to follow certain tips to ensure safety and a smooth setup.
This guide covers key safety steps, needed tools, and a clear installation process for your DIY project.
Safety Precautions
Before starting, turn off the power at the circuit breaker. Use a voltage tester to confirm no electricity flows to the wires.
- Wear safety glasses and gloves.
- Use a sturdy ladder to reach the ceiling.
- Do not work alone; have someone nearby for help.
- Follow manufacturer instructions carefully.
- Check ceiling support to hold chandelier weight.
Tools And Materials Required
| Tool or Material | Purpose |
| Voltage Tester | Check power is off |
| Wire Strippers | Prepare wires for connection |
| Screwdriver Set | Secure mounting bracket and screws |
| Drill | Make holes if needed |
| Wire Nuts | Connect electrical wires safely |
| Electrical Tape | Insulate wire connections |
| Ladder | Reach installation area |
| Chandelier Kit | Main fixture and parts |
Step-by-step Installation Guide
- Turn off the power at the breaker box and verify with a voltage tester.
- Remove the old fixture and disconnect wires carefully.
- Install the mounting bracket supplied with the chandelier.
- Connect the chandelier wires to the house wires: black to black, white to white, and ground to ground.
- Secure wire connections with wire nuts and wrap with electrical tape.
- Attach the chandelier to the mounting bracket following the instructions.
- Install bulbs and any decorative covers.
- Turn on power and test the chandelier to confirm it works.
Credit: www.blesserhouse.com
Enhancing Your Hallway With Accessories
Your hallway is the first space guests see. Adding accessories can make it warm and inviting.
Simple additions like art, mirrors, and furniture help style your hallway around your chandelier.
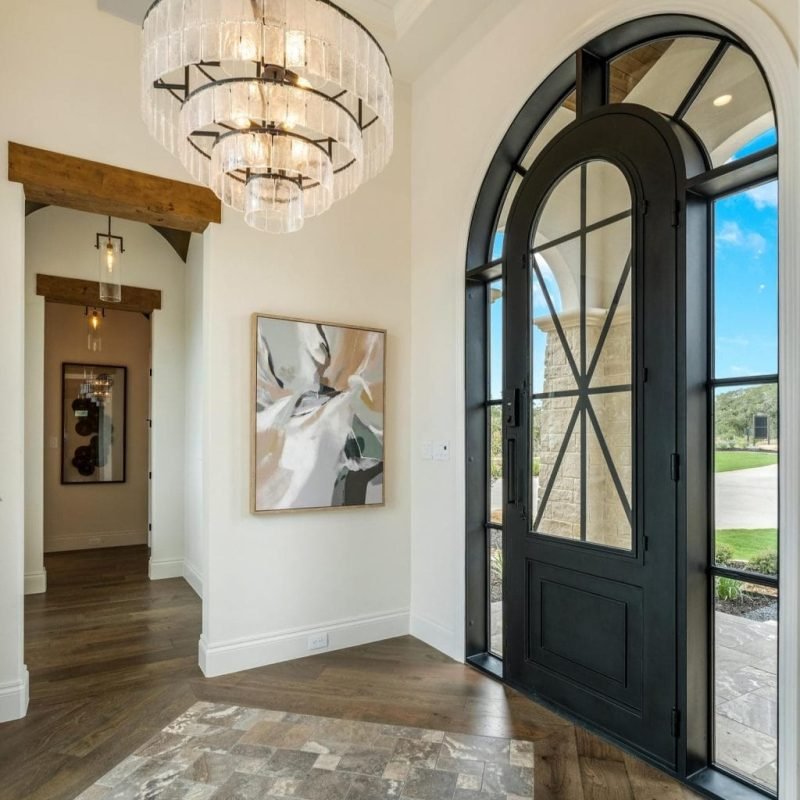
Complementary Wall Art
Choose wall art that matches your hallway chandelier style. This creates a balanced look.
Art pieces add personality and color to plain walls, enhancing the chandelier’s glow.
- Pick art with colors that echo your chandelier’s tones
- Use frames that match the chandelier’s metal or finish
- Arrange art at eye level for best impact
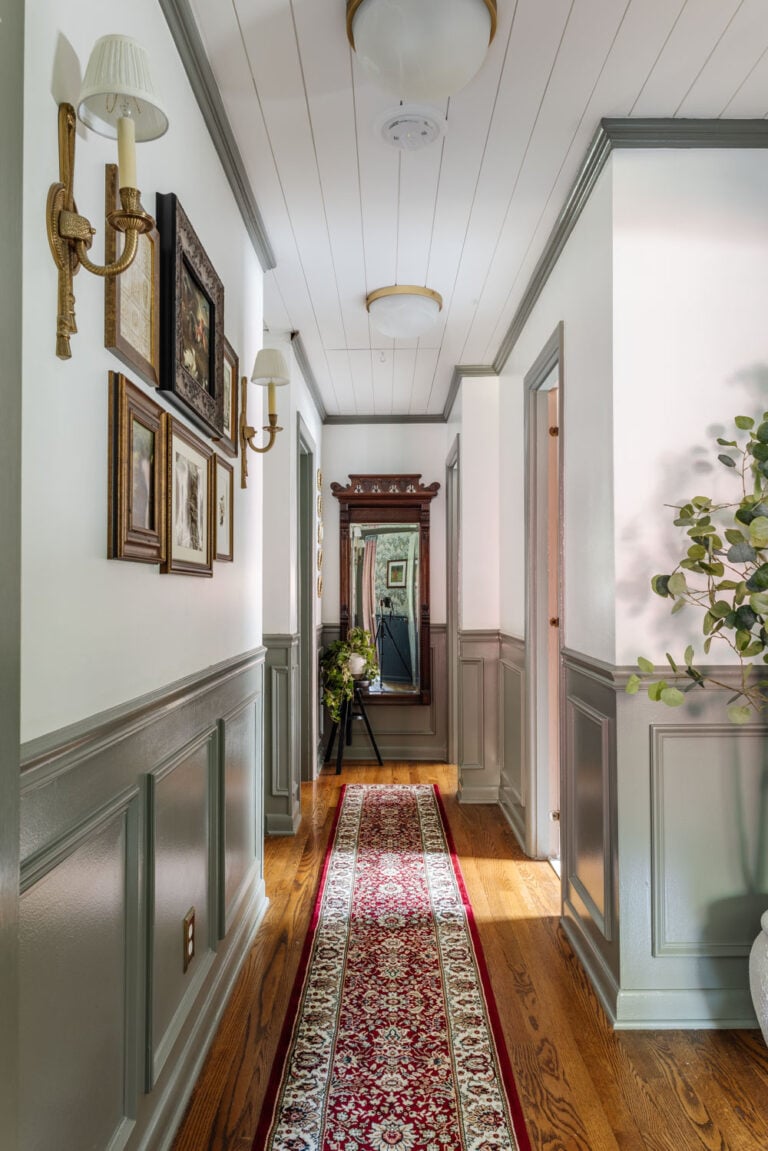
Mirrors And Reflective Surfaces
Mirrors reflect light and make hallways feel larger and brighter.
Place mirrors opposite or near the chandelier to increase light flow.
- Use framed mirrors matching chandelier design
- Try mirrored furniture for extra shine
- Polished metal accessories complement reflective surfaces
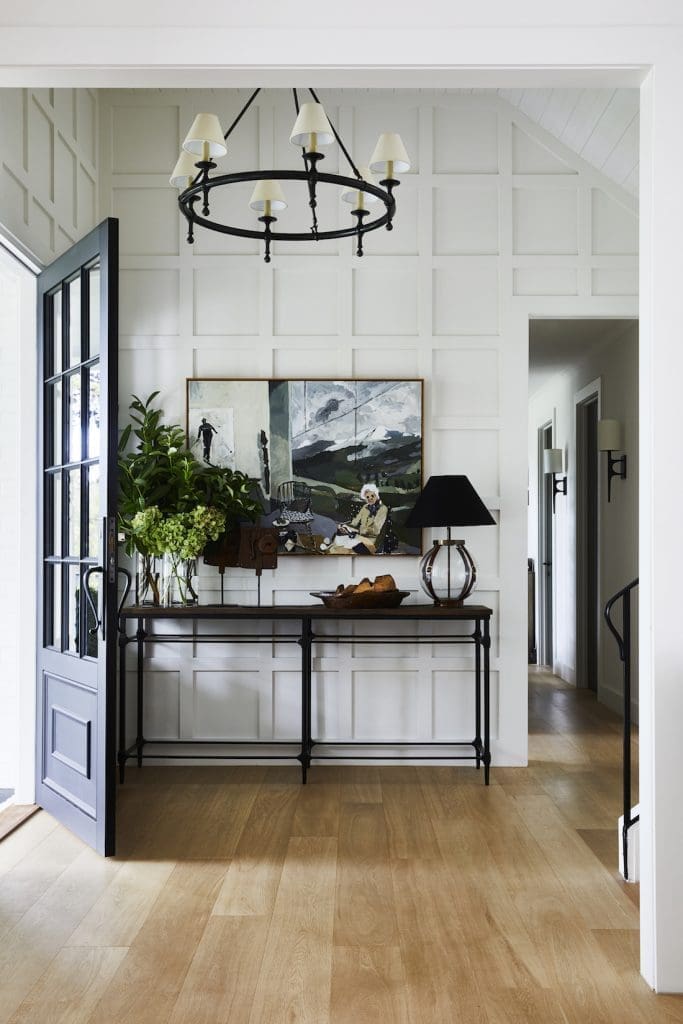
Coordinating Furniture And Rugs
Choose furniture and rugs that support the chandelier’s style and color.
Small benches or tables offer function and style without crowding the hallway.
- Select rugs with colors or patterns that highlight the chandelier
- Keep furniture size proportional to hallway space
- Opt for simple designs to keep focus on the chandelier
Maintenance And Care
Keeping your hallway chandelier clean and well-maintained helps it shine brightly. Regular care can extend its life and keep it looking new.
Follow simple tips to clean, replace bulbs safely, and perform long-term upkeep. This will keep your chandelier in top shape.
Cleaning Techniques
Dust and dirt can dull your chandelier’s shine. Clean it carefully to avoid damage. Use gentle tools and mild cleaners for best results.
- Turn off power before cleaning.
- Use a soft cloth or feather duster.
- Wipe glass or crystal parts with a damp cloth.
- Dry immediately with a clean, lint-free towel.
- Avoid harsh chemicals that can damage finishes.
Replacing Bulbs
Changing bulbs is easy but requires care. Use the right type and wattage for your chandelier. Always turn off power before starting.
- Switch off the chandelier and wait for bulbs to cool.
- Remove the old bulb carefully without touching the glass.
- Insert the new bulb, ensuring it fits securely.
- Turn on power and test the light.
- Dispose of old bulbs according to local rules.
Long-term Upkeep
Regular checks keep your chandelier safe and beautiful. Look for loose parts and signs of wear. Tighten screws and clean fixtures often.
| Maintenance Task | Frequency | Details |
|---|---|---|
| Dusting | Weekly | Use a soft cloth or duster to remove dust. |
| Deep Cleaning | Every 3 months | Wipe glass and metal parts with mild cleaner. |
| Check Bulbs | Monthly | Replace any burnt-out bulbs promptly. |
| Inspect Hardware | Every 6 months | Tighten screws and check wiring connections. |
Credit: stylecurator.com.au

Credit: www.domino.com
Frequently Asked Questions
What Materials Are Best For Diy Hallway Chandeliers?
Choosing lightweight metals, glass, or wood ensures durability and style. Opt for energy-efficient bulbs to save power. These materials blend well with hallway decor and are easy to work with in DIY projects.
How Do I Choose The Right Size Chandelier For My Hallway?
Measure your hallway’s length and width before selecting a chandelier. A fixture about one-third the hallway’s width usually fits well. Avoid oversized chandeliers to maintain balance and proper lighting.
Can I Install A Diy Chandelier Without Professional Help?
Yes, if you have basic electrical skills and tools. Always turn off power before installation. Follow safety guidelines strictly, and consult a guide or tutorial for detailed steps to ensure safety.
How To Style A Hallway Chandelier For A Modern Look?
Use sleek, minimalist designs with clean lines and neutral colors. Incorporate metallic finishes like brushed nickel or matte black. Pair with subtle wall decor to enhance the modern aesthetic without clutter.
Conclusion
DIY hallway chandelier projects add charm and light to any space. They let you show your style and creativity. Simple tools and ideas can create stunning results. Choose materials that match your home’s look. Try new designs to make your hallway unique.
Small changes can brighten dark areas and feel welcoming. Enjoy the process and have fun crafting your chandelier. Your hallway deserves a special touch that feels like you. Start your project today and see the difference it makes.
