Looking to add charm and light to your hallway without spending a fortune? You’re in the right place.
DIY hallway wall sconce projects are a simple and stylish way to brighten up your space while showing off your creativity. Imagine transforming a dull corridor into a warm, inviting path with just a few easy steps. You’ll discover practical ideas and clear instructions that anyone can follow.
Ready to make your hallway stand out and impress your guests? Keep reading, and let’s get started!
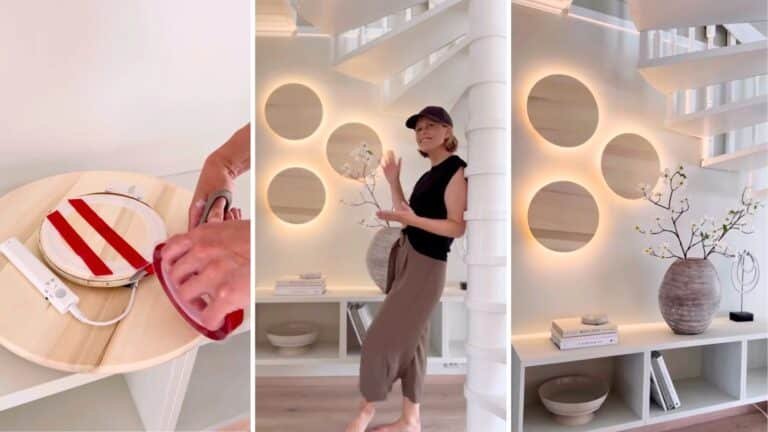
Credit: www.blesserhouse.com
Choosing The Right Wall Sconce
Wall sconces add style and light to your hallway. Choosing the right one can change the feel of the space.
Think about the type, material, and size to match your hallway’s look and size. This guide helps you pick the best wall sconce.
Types Of Wall Sconces
There are many kinds of wall sconces. Some hold candles while others use electric bulbs. Choose what fits your style and need.
- Upward sconces: light shines up to create soft glow.
- Downward sconces: light shines down to brighten floors or walls.
- Swing arm sconces: adjustable arms for directing light.
- Flush mount sconces: sit close to the wall, good for small spaces.
- Lantern sconces: add a classic or rustic look.
Materials And Finishes
Wall sconces come in many materials and finishes. Pick one that fits your home’s theme and is easy to clean.
| Material | Finish | Style |
| Metal | Brushed nickel | Modern |
| Wood | Natural or painted | Rustic or traditional |
| Glass | Frosted or clear | Elegant or contemporary |
| Ceramic | Glossy or matte | Artistic or vintage |
Sizing For Your Hallway
Size your sconce to fit the hallway width and height. Too big or small looks odd and may not light well.
- Measure hallway width and height.
- Choose sconces that are about one-third the width of the wall space.
- Place sconces at eye level, usually 60 to 66 inches from the floor.
- Leave enough space between sconces for balance—about 6 to 8 feet apart.
Tools And Materials Needed
Building a hallway wall sconce can add charm to your space. You need the right tools and materials to make the project smooth.
This guide covers the basic tools, electrical supplies, and decorative elements needed for your DIY wall sconce.
Basic Tools
You need some simple tools to start your project. These tools help you measure, cut, and assemble parts safely.
- Measuring tape
- Electric drill with bits
- Screwdrivers (flat and Phillips)
- Wire strippers
- Level tool
- Pliers
- Safety goggles
- Voltage tester
- Hammer
Electrical Supplies
Electrical parts are needed to make your sconce light up. Make sure to pick the right supplies for safety.
- Light socket or fixture base
- Electrical wire (usually 14 or 12 gauge)
- Wire nuts
- Light bulbs (LED or incandescent)
- Electrical tape
- Switch (if you want a separate control)
- Wall mounting bracket
- Junction box (if needed)
Decorative Elements
Decorative parts give your sconce style. Choose elements that match your hallway decor.
- Shade or cover for the bulb
- Paint or stain for wood parts
- Decorative screws or caps
- Metal or wood base plates
- Ornamental trim or accents
- Fabric or glass covers
- Hooks or small shelves (optional)
Step-by-step Installation Guide
Installing a hallway wall sconce can brighten your space and add style. This guide will walk you through each step clearly.
Follow the instructions carefully to ensure safety and a neat finish. You will learn how to prepare the wall, handle wiring, and mount the sconce.
Preparing The Wall
Start by choosing the right spot for your sconce. Check the wall for studs or wiring behind it. Mark where the sconce will go.
- Turn off power to the area at the circuit breaker.
- Use a stud finder to locate studs behind the drywall.
- Mark the height and center point for the sconce on the wall.
- Drill holes if needed for mounting brackets.
Wiring Basics
Safety is key when working with electrical wiring. Know which wires are live, neutral, and ground before connecting the sconce.
| Wire Color | Purpose |
| Black or Red | Live (Hot) Wire |
| White | Neutral Wire |
| Green or Bare Copper | Ground Wire |
Use a voltage tester to check wires. Connect matching wires from the sconce to the house wires using wire nuts. Secure all connections.
Mounting The Sconce
Attach the mounting bracket to the wall securely. Make sure it is level. Connect the wires and tuck them into the electrical box.
- Secure the mounting bracket with screws to the wall or stud.
- Connect the sconce wires to the house wires carefully.
- Attach the sconce base to the bracket using the provided screws.
- Install the light bulb and attach any covers or shades.
- Turn the power back on and test the sconce.
Creative Design Ideas
Hallway wall sconces add style and light to narrow spaces. They help create a warm welcome.
DIY projects let you build unique sconces. This guide shows ideas for different styles.
Rustic And Vintage Styles
Rustic and vintage sconces use natural materials and old-fashioned shapes. Wood, metal, and glass work well. These styles add charm and character.
- Use reclaimed wood for the sconce base
- Choose Edison bulbs for a vintage glow
- Add metal brackets or chains for support
- Use frosted or amber glass shades
- Distress paint for an aged look
Modern And Minimalist Looks
Modern sconces focus on clean lines and simple shapes. They often use metal or glass with neutral colors. These designs fit small or bright hallways.
| Material | Shape | Color |
| Brushed nickel | Rectangular | Matte black |
| Clear glass | Circle | White |
| Chrome | Square | Silver |
Upcycled And Recycled Fixtures
Upcycling old items makes eco-friendly sconces. You can reuse many objects for creative lighting.
Try these ideas:
- Turn old jars into candle sconces
- Use vintage teacups as light holders
- Convert bicycle parts into wall lamps
- Make sconces from scrap metal pieces
- Wrap fabric scraps around lights for soft glow
Safety Tips For Diy Lighting
Creating your own hallway wall sconces can be fun. Safety is very important during these projects. Follow these tips to ensure your DIY lighting projects are safe and successful.
Learn how to handle tools and electricity carefully. Taking the right precautions can prevent accidents and make your DIY experience enjoyable.
Electrical Safety Precautions
Electricity is dangerous if not handled properly. Always turn off the power at the circuit breaker before starting work. Use a voltage tester to confirm that the power is off.
Wear rubber-soled shoes when working with electricity. Avoid water near electrical sources. Keep your hands dry.
- Use insulated tools for electrical work
- Check wires for damage before use
- Do not overload electrical outlets
Proper Use Of Tools
Using tools correctly is key to avoiding injuries. Read the manual for each tool before use. Wear safety goggles and gloves to protect yourself.
Ensure tools are in good condition. Replace broken or worn tools immediately. Keep your work area clean and organized to prevent accidents.
- Use the right tool for each job
- Keep tools out of reach of children
- Store tools properly after use
Maintaining Your Sconces
Regular maintenance keeps your sconces looking good. Dust them weekly with a soft cloth. Check for loose screws or parts.
Replace burned-out bulbs immediately. Use bulbs with the correct wattage to prevent overheating. Inspect wiring periodically to ensure safety.
- Clean fixtures to prevent dust buildup
- Ensure all parts are securely attached
- Use compatible bulbs for your sconces
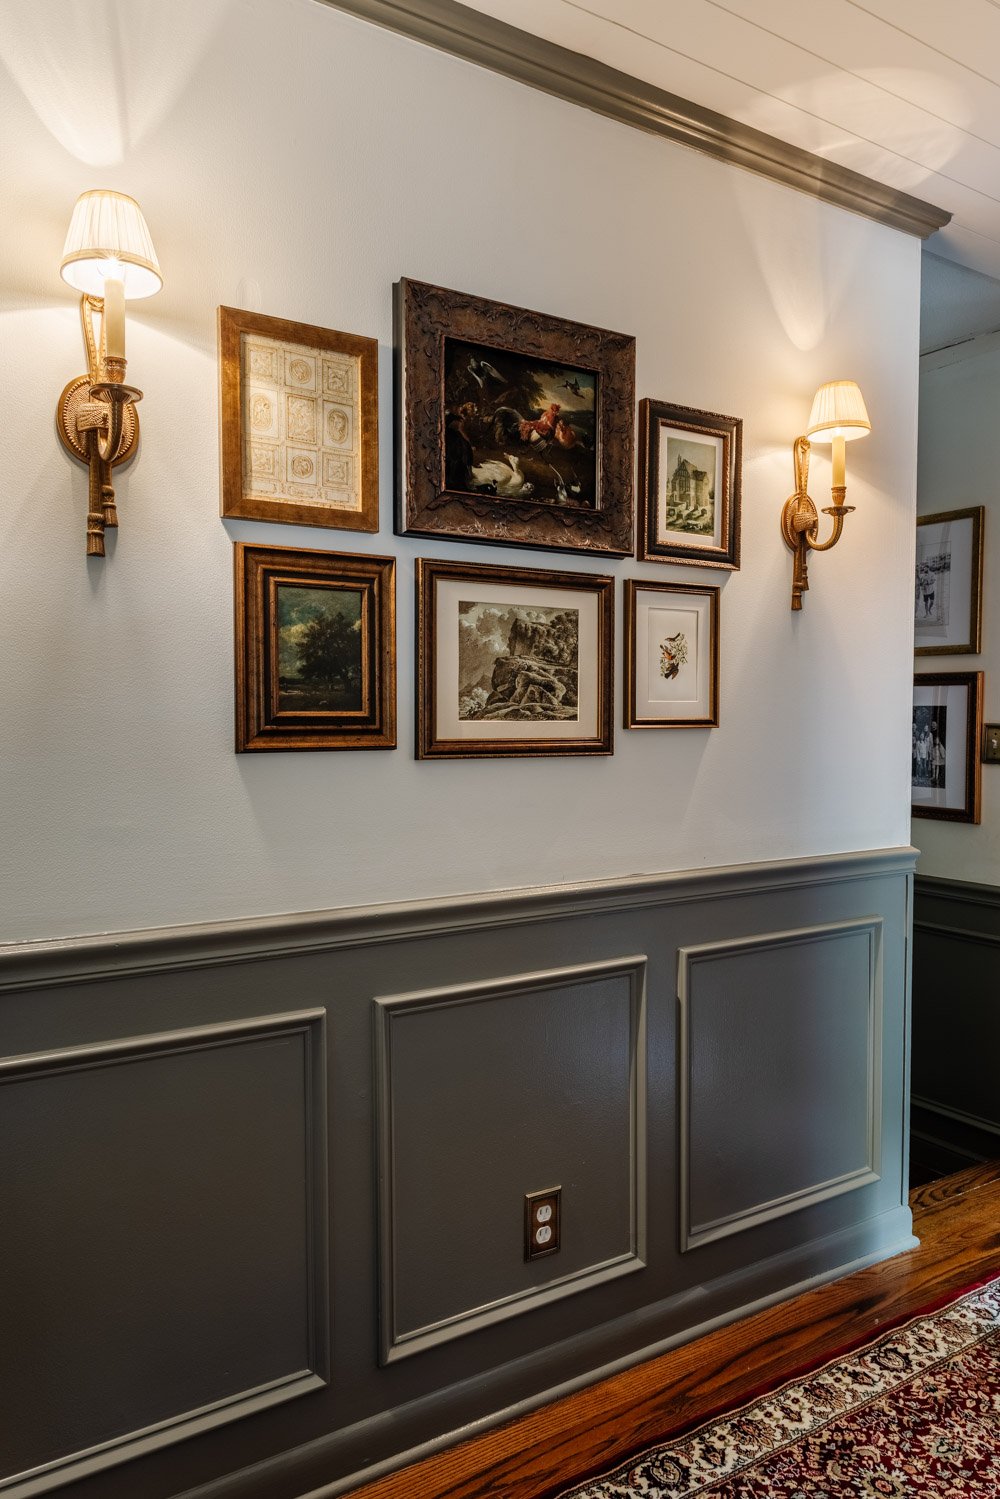
Credit: thediyplaybook.com
Enhancing Ambiance With Lighting
Lighting can change how a hallway feels. It can make the space warm and welcoming or bright and lively.
Using wall sconces is a simple way to add style and improve the atmosphere in your hallway.
Layering Light Sources
Layering light means using more than one type of light in the hallway. This creates depth and interest.
- Use sconces for soft, side lighting.
- Add ceiling lights for general brightness.
- Include floor or table lamps near entrances or corners.
- Combine natural light if there are windows or doors.
Choosing Bulbs For Mood
The type of bulb you pick affects the mood of your hallway. Warm light feels cozy. Cool light feels fresh.
| Bulb Type | Light Color | Best For |
| Incandescent | Warm White (2700K) | Soft, cozy ambiance |
| LED | Varies (2700K-5000K) | Energy saving, many moods |
| CFL | Cool White (4000K) | Bright, clear lighting |
| Halogen | Bright White (3000K) | Sharper details, modern look |
Using Dimmers And Controls
Dimmers let you adjust light levels. You can make the hallway brighter or softer anytime.
Advantages of dimmers and smart controls:
- Save energy by using less light
- Set moods for different times of day
- Control lights remotely with apps
- Increase the life of your bulbs
Budget-friendly Wall Sconce Ideas
Creating your own wall sconces can be fun and cost-effective. You can use materials you already have at home or buy affordable ones.
These projects allow you to personalize your home decor without spending much. Let’s explore some creative ideas.
Affordable Materials
Using budget-friendly materials can make your DIY sconce project inexpensive. Consider using items like wood, metal, or glass from local stores.
- Wood planks from scrap yards
- Recycled metal pieces
- Simple glass jars or bottles
Repurposing Household Items
Old items at home can be repurposed into beautiful wall sconces. This not only saves money but also gives new life to unused items.
For instance, you can transform mason jarsinto charming sconces by adding some fairy lights inside. Another idea is to use old kitchen utensilsas creative light holders.
Diy Vs. Store-bought Options
Making your own wall sconces can be cheaper than buying them. Let’s compare some DIY and store-bought options.
| DIY Materials | Estimated Cost |
| Wood and Paint | $10 |
| Metal and Bulbs | $15 |
| Store-Bought Sconce | $30+ |

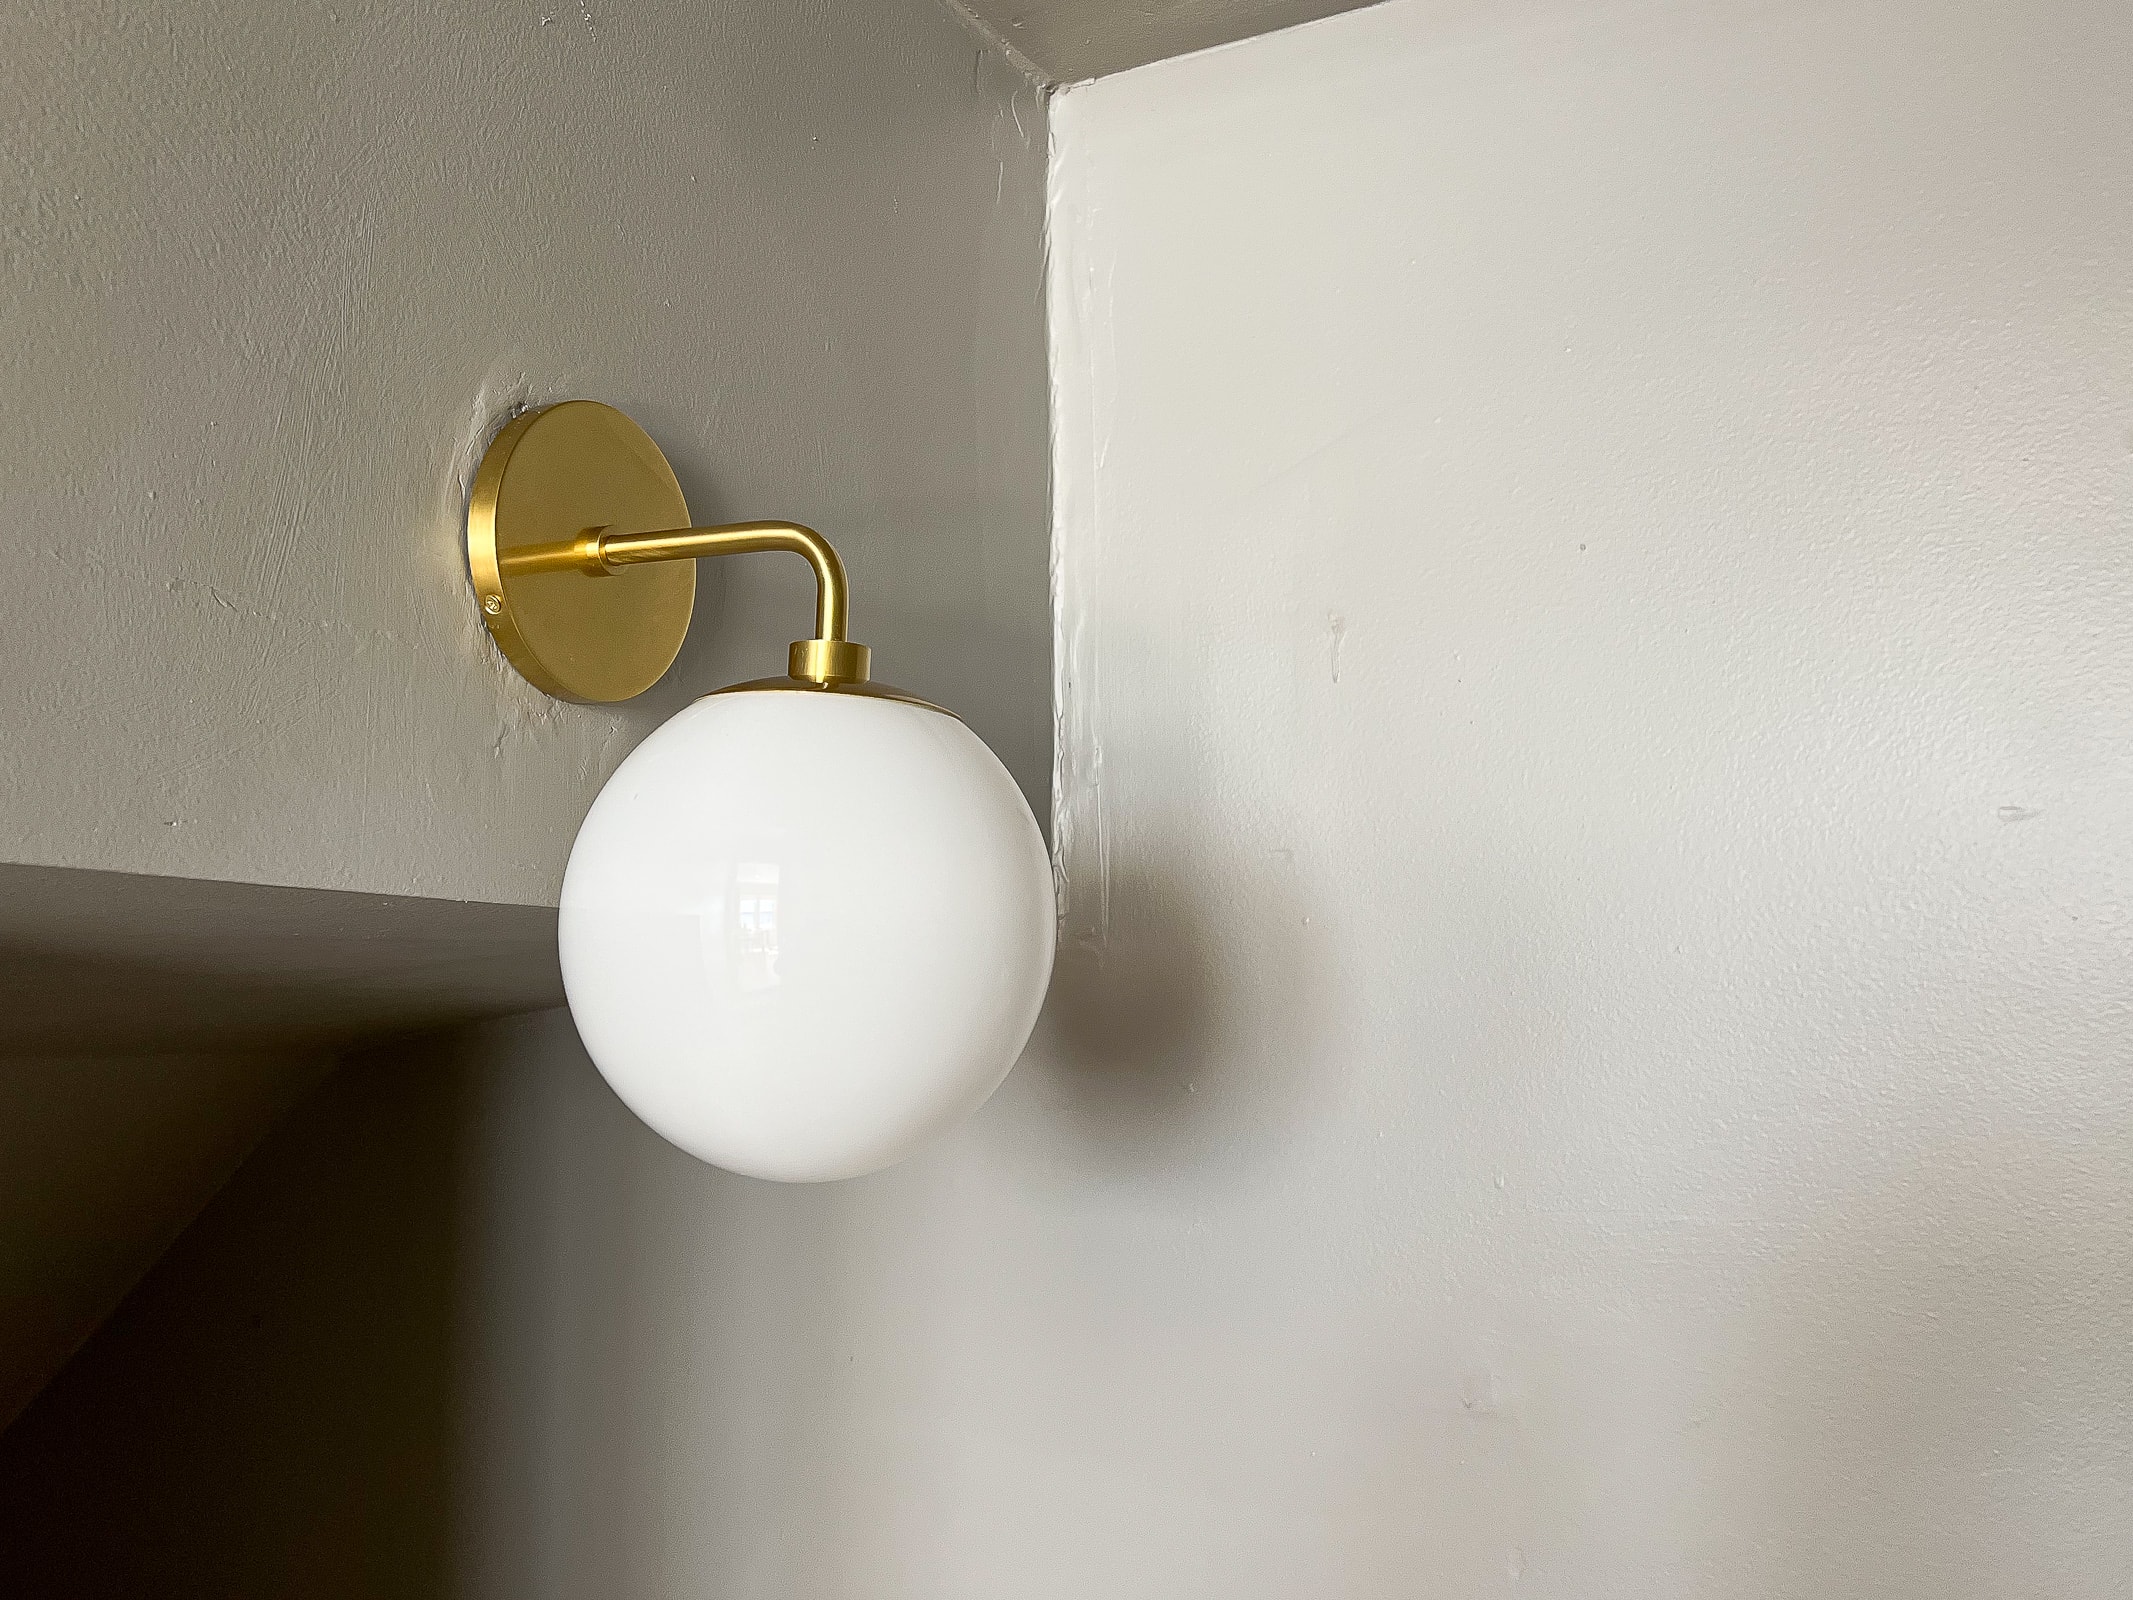
Credit: hanashappyhome.com
Frequently Asked Questions
What Materials Do I Need For Diy Hallway Wall Sconces?
You need basic tools, light fixtures, electrical wiring, mounting brackets, and decorative elements. Select materials that match your hallway style and ensure safety compliance.
How Do I Install A Wall Sconce Safely In A Hallway?
Turn off power at the breaker before installation. Use proper wiring techniques, secure mounting hardware, and test the fixture for correct function.
What Are Popular Design Ideas For Hallway Wall Sconces?
Common designs include vintage lanterns, modern minimalist, rustic wood, and industrial metal. Choose styles that enhance hallway ambiance and complement your home decor.
Can I Use Led Bulbs In Diy Wall Sconces?
Yes, LED bulbs are energy-efficient and long-lasting. They provide bright, consistent light and reduce electricity costs in hallway lighting.
Conclusion
DIY hallway wall sconces add charm and light to your space. These projects are simple and fun to do. You can choose styles that fit your home and taste. Creating your own sconces saves money and gives a personal touch.
Try different materials and designs for a unique look. Brighten your hallway with your own creative ideas. Enjoy the warmth and style your sconces bring. Start small, and watch your hallway transform beautifully.