Are you ready to transform your walls from plain to stunning? The right lighting can make your wall art truly shine, creating a mood that draws everyone’s attention.
But how do you choose the perfect lighting without making mistakes that dull your artwork? You’ll discover simple, effective tips that will help your wall art pop and bring your space to life. Keep reading—you’re just moments away from mastering wall art lighting like a pro.
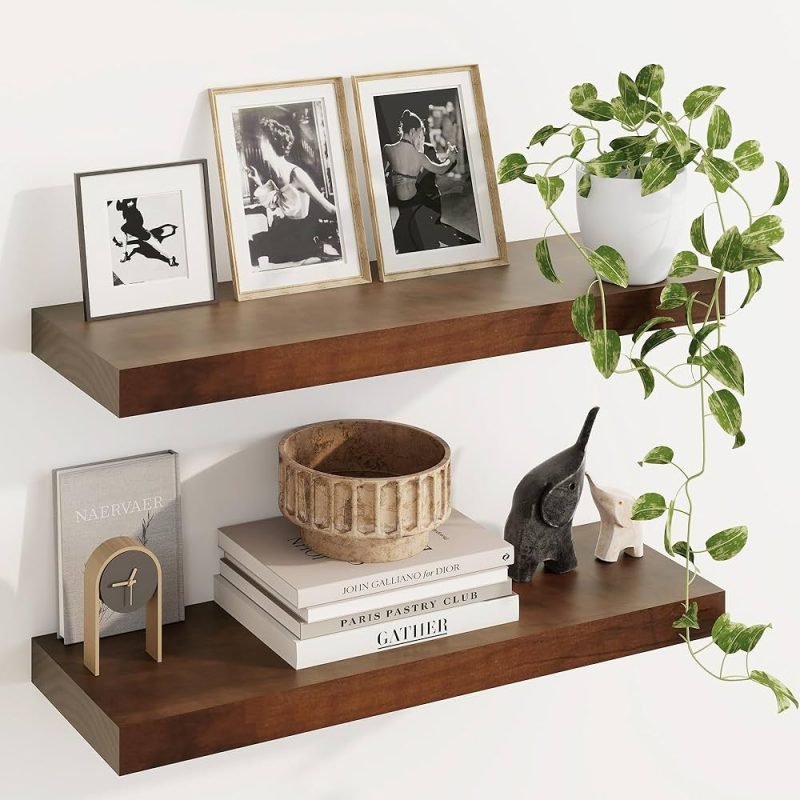
Choosing The Right Light
Lighting can change how your wall art looks in a room. Picking the right light helps show the colors and details better.
Good lighting also protects your art from damage. Let’s explore how to select the best light for your wall art.
Types Of Wall Art Lighting
There are several ways to light your wall art. Each type creates a different effect and suits different spaces.
- Spotlights:Focus light on one piece to highlight it.
- Track Lighting:Allows several lights to shine on different artworks.
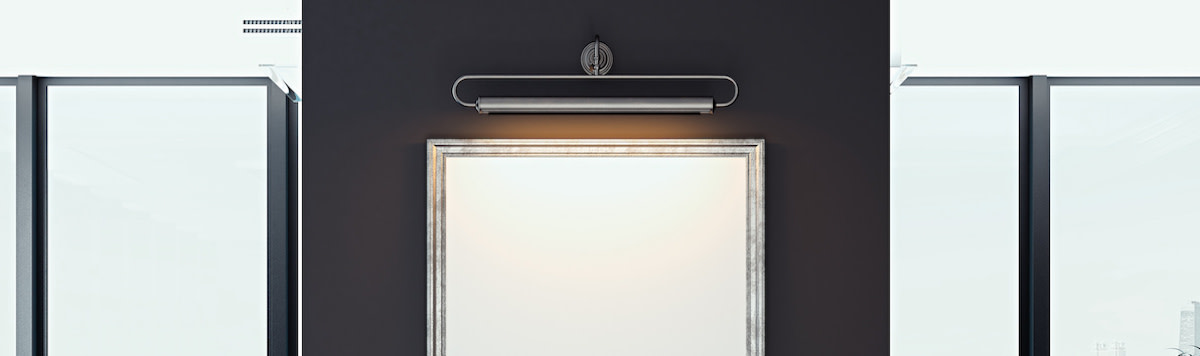
- Picture Lights:Attach directly above the art for even lighting.
- Wall Washers:Spread light evenly across a wall of art.
Selecting Bulb Color And Brightness
Bulb color and brightness affect how the art appears. Choose bulbs that show true colors without glare.
| Bulb Color | Best Use |
| Warm White (2700K-3000K) | Soft, cozy look for traditional art |
| Neutral White (3500K-4100K) | Bright, clear light for most art styles |
| Cool White (5000K-6500K) | Sharp, modern look for bold artworks |
| Brightness (Lumens) | Depends on art size and room lighting |
Energy-efficient Options
Energy-efficient bulbs save money and last longer. They also emit less heat, which protects art.
- LED bulbs use the least energy and come in many color options.
- CFL bulbs save energy but may take time to reach full brightness.
- Halogen bulbs show colors well but use more energy and produce heat.
Credit: www.masterclass.com
Placement Strategies
Choosing the right placement for wall art lighting can change the whole look of a room. Proper lighting highlights the art and creates a pleasing atmosphere.
Knowing the best height, angles, and light sources helps avoid common problems like shadows and glare. This guide will cover key tips for good placement.
Optimal Height And Angles
Place lights about 30 to 36 inches above the artwork. This height works well for most walls. Tilt lights at a 30-degree angle to reduce reflections.
- Measure the height of your artwork.
- Install lighting 30-36 inches above the top edge.
- Adjust the angle to about 30 degrees for best focus.
- Avoid direct lighting that hits the viewer’s eyes.
Avoiding Shadows And Glare
Shadows and glare can hide details in your art. Use diffused light or adjust angles to keep the light soft and even.
| Problem | Cause | Solution |
| Harsh Shadows | Direct light from one angle | Use multiple lights or diffusers |
| Glare on Glass | Light reflecting off shiny surfaces | Change light angle or use anti-glare bulbs |
| Uneven Illumination | Light too close or too far | Adjust distance and spread of light |
Using Multiple Light Sources
Use more than one light to balance the room and highlight different parts of the artwork. This method reduces shadows and adds depth.
- Place two lights on opposite sides of the art.
- Use wall washers for even lighting on large pieces.
- Add spotlights for small or detailed art.
- Combine warm and cool bulbs for natural colors.
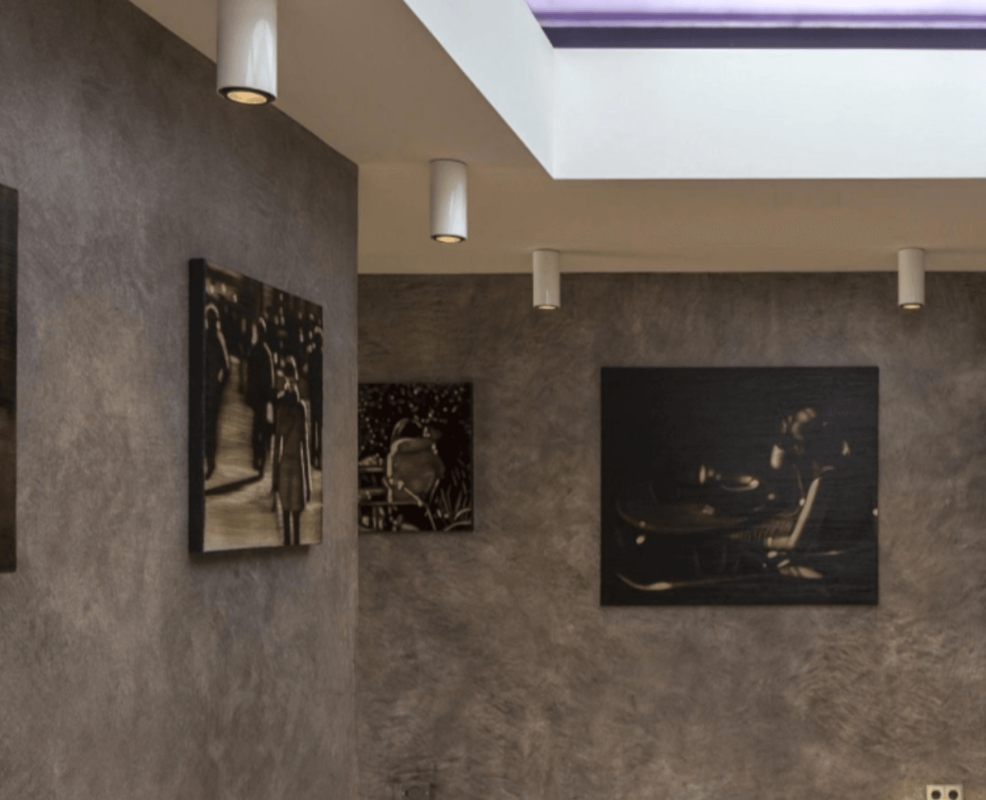
Highlighting Different Art Styles
Lighting plays a key role in showing off art. Different art styles need different lighting.
Good lighting brings out colors, shapes, and details. It helps viewers enjoy the art fully.
Lighting For Paintings
Paintings need soft, even light to avoid glare. Use lights that show true colors well.
Adjust the angle of the light to reduce shadows on the painting’s surface.
- Use LED or halogen lights with high color rendering index (CRI)
- Place lights at a 30-degree angle to the painting
- Avoid direct sunlight to prevent fading
Illuminating Sculptures
Sculptures need lighting that shows their shape and texture. Shadows help add depth.
Use directional lights from different angles to highlight curves and details.
- Use spotlights or track lights for focused beams
- Combine front and side lighting to create shadows
- Adjust brightness to avoid washing out details
Showcasing Photographs
Photographs look best with soft, even lighting. It helps keep colors and contrast clear.
Avoid harsh reflections by using diffused or indirect light sources.
- Use LED lights with neutral white color temperature (around 4000K)
- Place lights evenly across the photograph
- Use anti-glare glass if framing the photo
Credit: www.lightingwarehouse.com
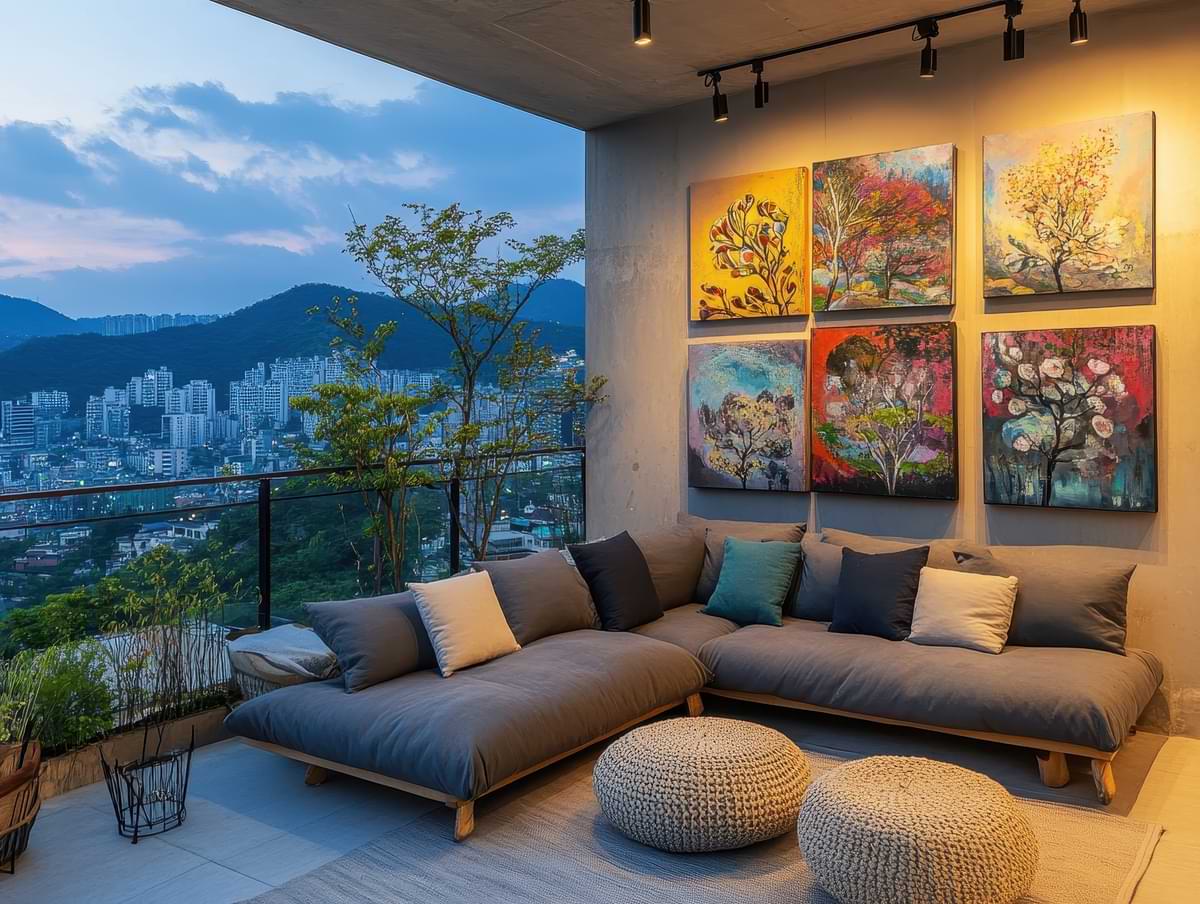
Enhancing Ambiance
Lighting can change how wall art looks in a room. Good lighting creates a cozy and inviting space.
Using the right lights can highlight details and colors in your artwork. This helps set the mood of the room.
Warm Vs Cool Lighting Effects
Warm lights give a soft, yellow glow. They make spaces feel cozy and calm. Warm light works well with earth tones and warm colors in art.
Cool lights have a blue or white shade. They make rooms look bright and fresh. Cool light suits modern art and bright colors.
- Warm lighting creates a relaxed atmosphere
- Cool lighting adds energy and clarity
- Choose light color based on art style and room mood
Dimmers And Smart Controls
Dimmers let you adjust light brightness easily. You can change the mood by making lights softer or stronger.
Smart controls allow you to set lighting schedules. You can use apps or voice commands to control your wall art lights.
- Use dimmers to highlight art without glare
- Smart controls offer flexible light settings
- Adjust lighting for different times of day or events
Combining Natural And Artificial Light
Natural light changes throughout the day. It can bring out true colors in your wall art. Use blinds or curtains to control sunlight.
Artificial light fills in when natural light is low. Mixing both lights keeps the art visible all day. Balance is key to avoid shadows or glare.
- Place art near windows for natural light
- Use soft artificial lights to complement daylight
- Adjust curtains to reduce harsh sunlight
Installation Tips
Proper lighting can make wall art stand out beautifully. Installing the right fixtures helps highlight your artwork well.
Good installation ensures safety and improves the look of your space. Follow these tips to install wall art lighting correctly.
Choosing Fixtures And Mounts
Select fixtures that match your wall art style and size. The right mount keeps lights secure and stable.
Think about light direction and brightness. Adjustable mounts give you control over the light angle.
- Pick fixtures sized for your artwork
- Use mounts that hold weight safely
- Choose adjustable fixtures for flexibility
- Match fixture color with room decor
Wiring And Safety Considerations
Check your wiring before installing lights. Use proper cables and connectors to avoid hazards.
Turn off power at the breaker before working. Follow electrical codes to keep your home safe.
- Use insulated wires and secure connections
- Keep wiring away from water sources
- Do not overload circuits
- Test lights after installation
Diy Vs Professional Installation
DIY installation can save money but needs care and skill. Know your limits before starting.
Hire a professional if you are unsure about wiring or mounting. They ensure safe and neat work.
- DIY is good for simple, low-voltage lights
- Professionals handle complex wiring safely
- Experts provide proper mounting and alignment
- Professional work often includes warranty

Credit: www.ledmyplace.com
Maintenance And Upkeep
Wall art lighting adds beauty and focus to your space. Maintaining these lights ensures they work well and last long.
Regular upkeep prevents issues and keeps your lighting looking its best. Follow these tips for effective maintenance.
Cleaning Fixtures And Bulbs
Dust and dirt can dim your lights and reduce their lifespan. Clean fixtures and bulbs regularly to maintain brightness.
Use a soft cloth to gently wipe bulbs and fixtures. Avoid using water directly on electrical components.
- Turn off lights before cleaning
- Use a gentle, dry cloth
- Check for dust every month
Replacing And Upgrading Lights
Light bulbs will eventually burn out. Replacing them promptly keeps your art well-lit. Consider energy-efficient upgrades.
LED bulbs use less power and last longer. Choose bulbs that match your fixture’s design and voltage.
- Check bulb type before purchasing
- Turn off power before replacing
- Upgrade to LED for efficiency
Troubleshooting Common Issues
If lights flicker or fail to turn on, there might be a simple fix. Check connections and ensure bulbs are secure.
Flickering can be due to loose bulbs or faulty wiring. Consult a professional if problems persist.
- Ensure bulbs are tightly fitted
- Check for damaged wires
- Contact an electrician for complex issues
Frequently Asked Questions
What Is The Best Lighting For Wall Art?
The best lighting for wall art is soft, adjustable LED lighting. It reduces glare and highlights colors accurately, enhancing the artwork’s details.
How Far Should Lights Be From Wall Art?
Lights should be placed about 6 to 12 inches from the wall art. This distance ensures even illumination without casting harsh shadows or glare.
Can Wall Art Lighting Damage Paintings?
Proper wall art lighting does not damage paintings. Use LED lights as they emit minimal heat and UV rays, preserving artwork longevity safely.
Should Wall Art Lighting Be Warm Or Cool?
Warm lighting (2700K-3000K) enhances most wall art by adding richness to colors. Cool lighting may wash out colors and reduce visual impact.
Conclusion
Good wall art lighting makes your space feel warm and inviting. Choose the right light type and position for the best effect. Soft, focused light highlights details without glare or shadows. Experiment with angles to find what suits your art and room.
Keep lighting simple and balanced to avoid distractions. Well-lit art draws attention and adds character to any wall. Use these tips to brighten your walls with style and care. Your art deserves to shine every day.